
A terracotta rectangle, a cream-edged oval, a plain little fish: a crochet pet toy can look inviting with very little decoration. This collection keeps the focus on dense fabric, simple outlines and closed edges. If you are looking for a sturdy crochet pet toy for supervised play, these five ideas give you a practical starting point for choosing a shape and making a sample.
Each design has its own free PDF below. The guides propose two joined layers without stuffing, with materials, gauge notes, instructions and finishing checks. Start with the rectangle for plain rows, or try the fish when you feel like a little shaping.
A note before you begin: These are original pattern drafts developed from supplied design images. They have not been physically crocheted, washed or play-tested. A dense stitch does not make yarn chew-proof. Use crochet toys only for gentle, closely supervised interaction with a pet that does not shred or swallow fabric.
Which crochet pet toy would you like to make?
The colours are easy to change after sampling, but the shape and edge are worth choosing first. Here is a quick way to compare the five projects.
| Idea | Construction focus | Why choose it? |
|---|---|---|
| 1. Terracotta Rounded Rectangle | Basic rows; border and joining | A simple start with plain rows |
| 2. Navy and Cream Oval | Working around a chain; increases | A colour change built into the perimeter |
| 3. Teal Flat Fish | Shaped rows; matching edges | A recognisable shape without added features |
| 4. Mustard Rounded Triangle | Alternating plain and increase rows | A small lesson in gradual shaping |
| 5. Dusty Blue Hexagon | Continuous rounds; six increase sections | A solid centre and repeating increases |
1. Terracotta Rounded Rectangle
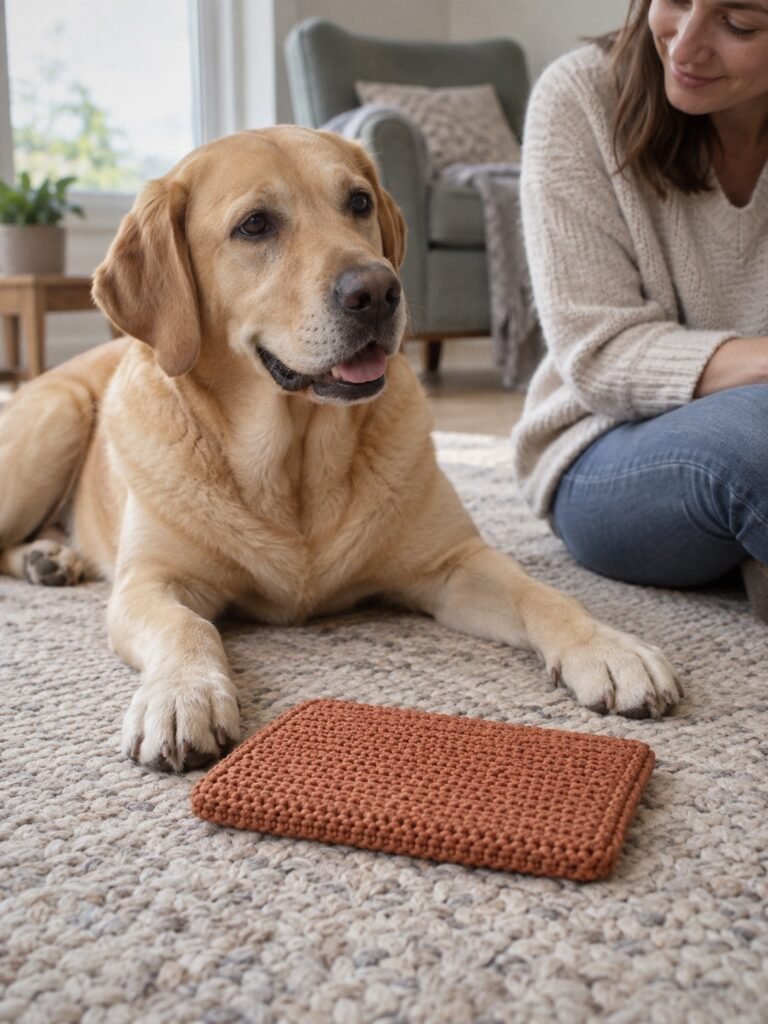
The terracotta rectangle is the quietest design in the set, and that is part of its appeal. Its warm clay colour sits naturally against the pale rug, while the plain outline makes the crochet texture easy to see. There is no little face or extra decoration competing with the stitches.
This is the most straightforward place to start if you enjoy working back and forth in rows. The proposed pattern uses two matching panels and a continuous join. Before bringing them together, lay one over the other: mismatched corners are much easier to correct while both pieces are still separate.
A detail worth keeping
Keep the corners soft and the border low. A tight edge can turn a flat rectangle into a shallow bowl, so the guide includes a flatness check before the seam is finished.
In this free guide: the proposed yarn and gauge, a starting size, complete shaping instructions, a joining method and checks for the terracotta rounded rectangle.
Terracotta Rounded Rectangle · original prototype-ready draft
2. Navy and Cream Oval
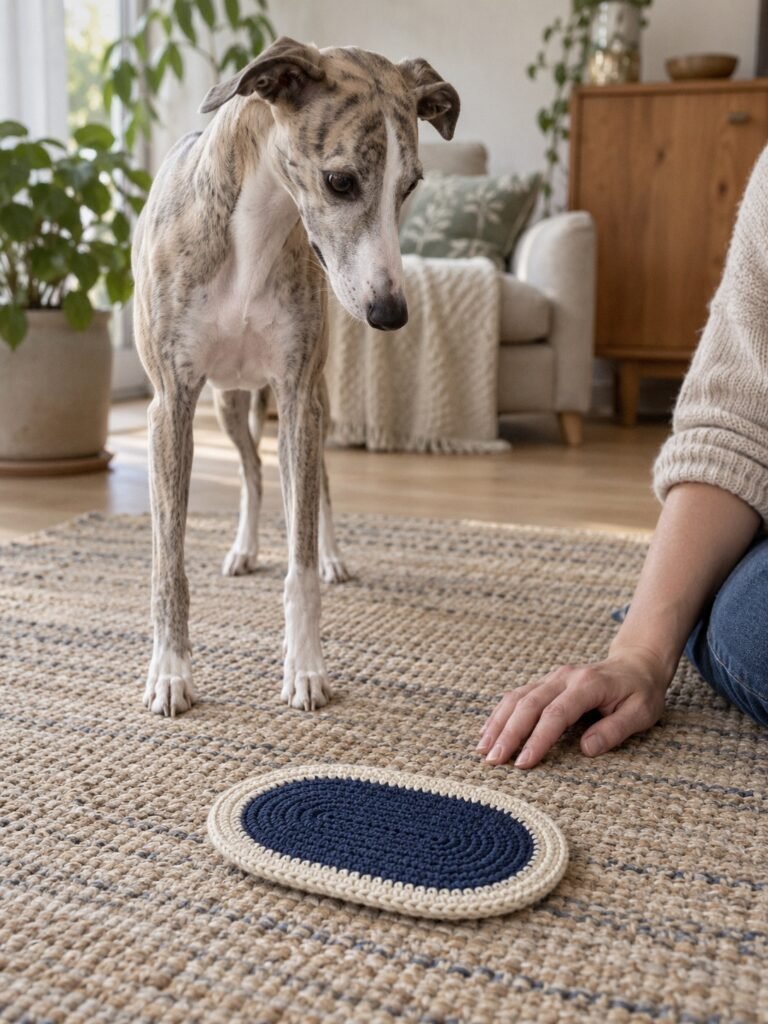
The cream outline gives this navy oval a clear silhouette even on a busy rug. It is a small colour change with a noticeable effect: you can follow the rounded ends without needing stripes, patches or a separate trim.
Working around both sides of a foundation chain creates the long centre. Increases stay at the two rounded ends, while the straight stretches hold their stitch count. That rhythm makes the oval a useful next project after the rectangle.
A detail worth keeping
The cream is part of the crochet, not a cord threaded around the edge. The PDF shows the colour change and explains how to keep the two panels aligned before closing them.
In this free guide: the proposed yarn and gauge, a starting size, complete shaping instructions, a joining method and checks for the navy and cream oval.
Navy and Cream Oval · original prototype-ready draft
3. Teal Flat Fish
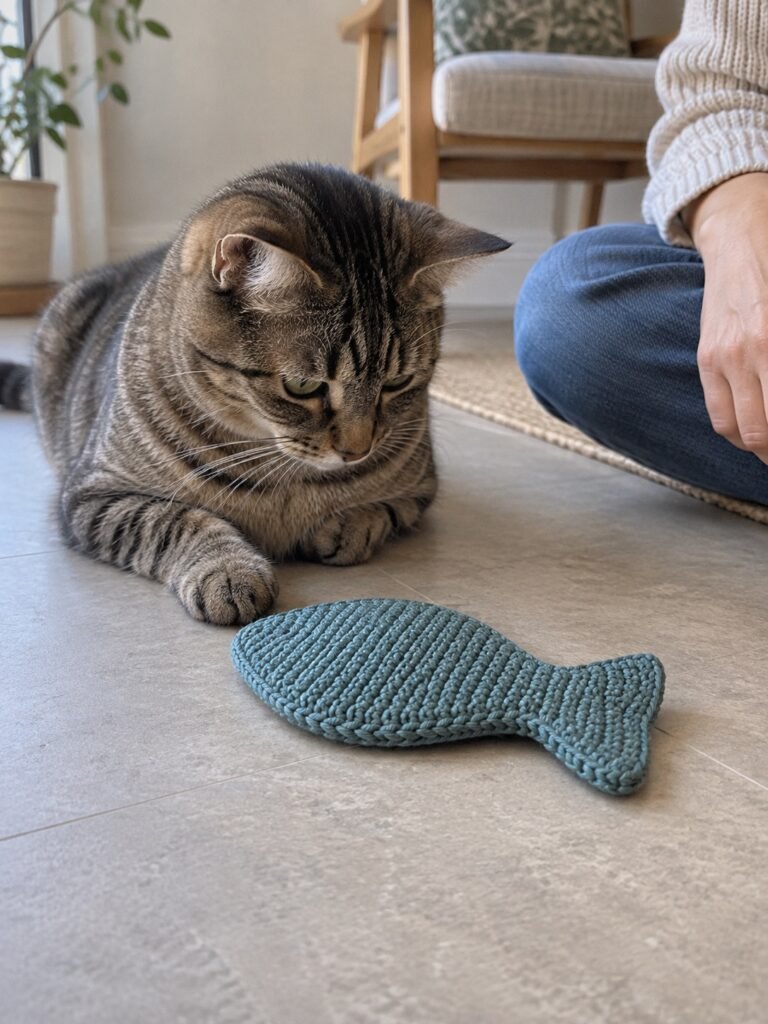
This little fish gets its character from the outline alone. The broad body and short tail are enough to read as a fish, so the design can stay free of eyes, whiskers and dangling fins. The muted teal also makes the rows easy to follow in the close view.
The tail grows from the same panel as the body. That matters for the pattern: there is no separate tail to attach at a narrow seam. Two complete fish silhouettes are made first and joined around the outside, leaving the interior empty.
A detail worth keeping
Keep the tail base broad when adapting the size. Adding a skinny cord tail would change both the look and the intended construction. The rounded nose and tail junction need a little more attention than the straight rows in the rectangle.
In this free guide: the proposed yarn and gauge, a starting size, complete shaping instructions, a joining method and checks for the teal flat fish.
Teal Flat Fish · original prototype-ready draft
4. Mustard Rounded Triangle
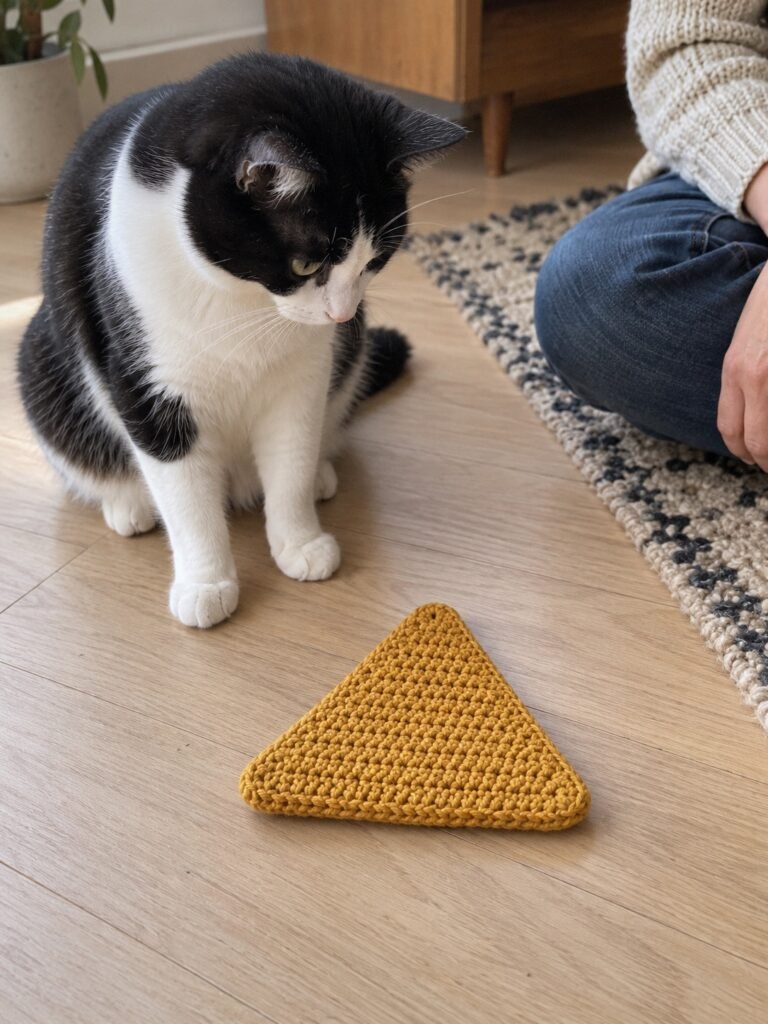
Mustard makes this simple triangle stand out against the wood floor. The corners are softly shaped, and the broad middle gives the stitch texture room to show. It feels cheerful without needing an embroidered face or a patch on top.
The panel begins at the short tip and gets wider gradually. Alternating increase rows with plain rows keeps the slope manageable, while stitch markers help you find the first and last stitch. Make the second piece to match the first before adding the perimeter.
A detail worth keeping
Round the tip with stitches rather than a chain loop. It should remain a closed piece of fabric, with no hanging point or handle added for play.
In this free guide: the proposed yarn and gauge, a starting size, complete shaping instructions, a joining method and checks for the mustard rounded triangle.
Mustard Rounded Triangle · original prototype-ready draft
5. Dusty Blue Hexagon
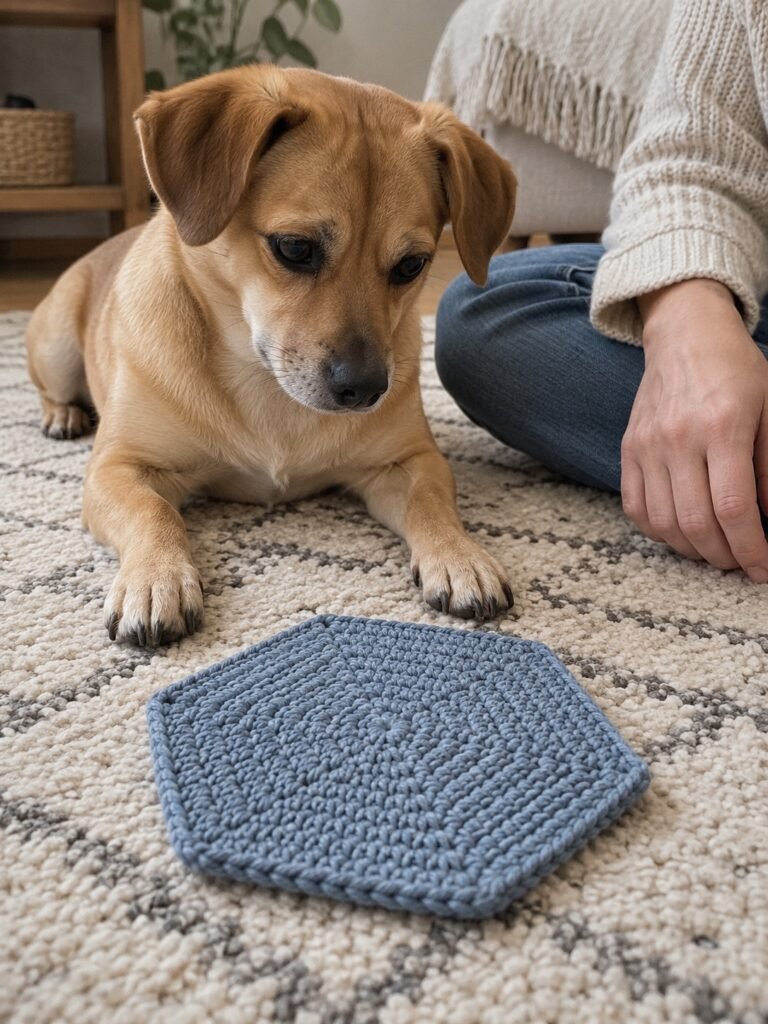
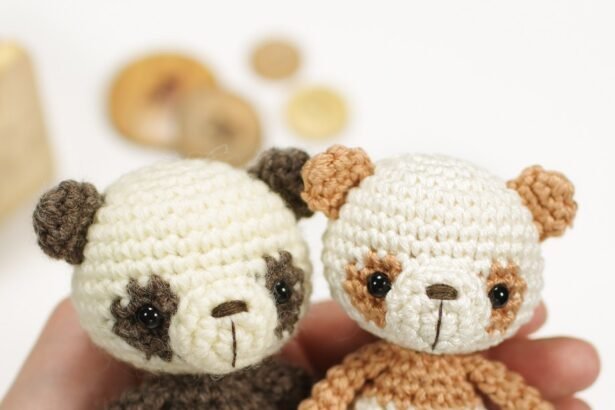
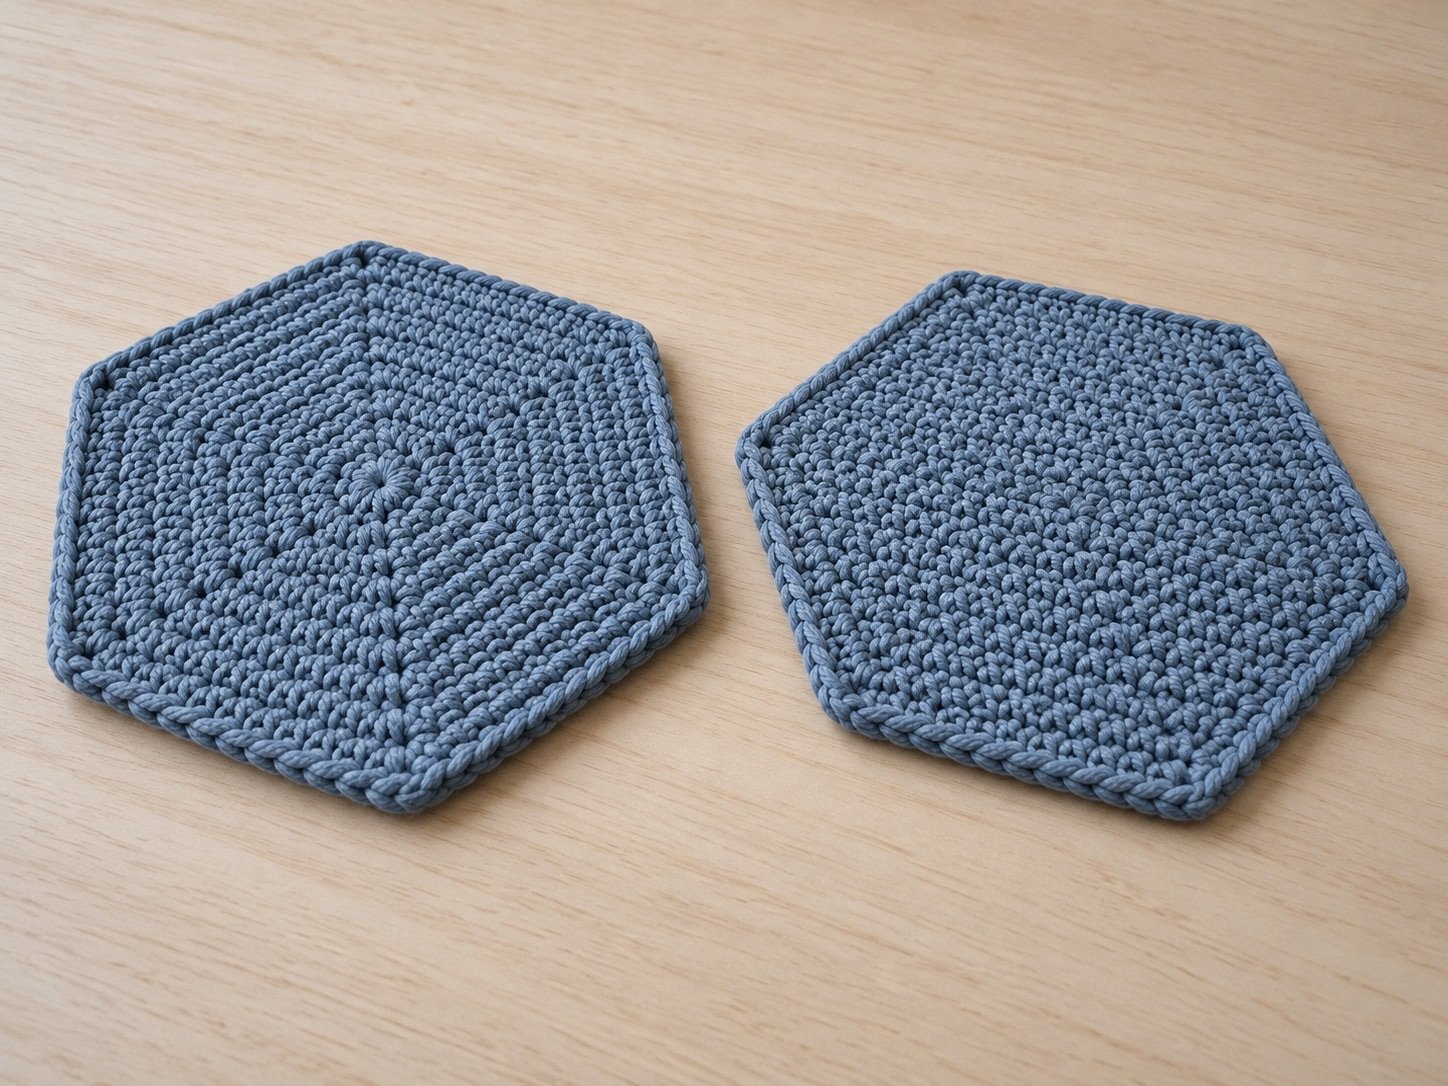
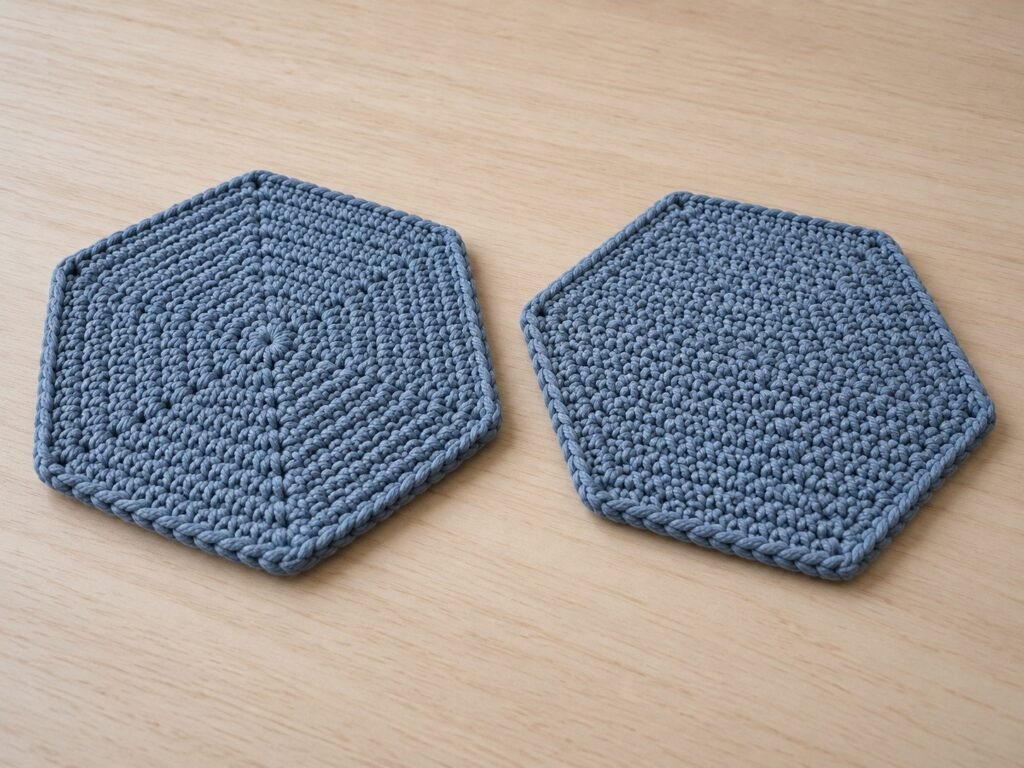
The blue hexagon is the design you can study from more than one angle. One image places it beside a small tan dog; the other lays two examples on a pale wooden surface. Together, they make the six-sided shape and the closed centre especially easy to see.
This version uses solid single-crochet rounds instead of open granny clusters. Six repeating increase sections build the outline. Stop occasionally to place the panel on the table, because an unnoticed extra increase can make a broad piece ripple well before the final round.
A detail worth keeping
Treat the flat-lay as an additional view of this idea, not another pattern. Its edge looks substantial, but the proposed instructions still use only two unfilled fabric layers.
In this free guide: the proposed yarn and gauge, a starting size, complete shaping instructions, a joining method and checks for the dusty blue hexagon.
Dusty Blue Hexagon · original prototype-ready draft
Choose the fabric and size before play
The proposed sample yarn is smooth, tightly plied cotton, worked firmly enough that the fabric has no obvious gaps. That is a construction choice, not a promise that cotton is safe to chew. Make a swatch, wash it according to the yarn label and measure it fully dry. The PDF gauge targets are starting points; your own results decide the final size.
The pet in a photograph is not a measuring guide. A piece that looks broad on the floor can fold into something much smaller. Choose for the individual animal and its play habits. If the piece is small enough to swallow, or your pet bites and pulls at the yarn, it is not a suitable toy for that pet.
Keep play gentle and close
Stay within reach, watch how your pet interacts with the piece and put it away when the session ends. Stop immediately if a claw catches, a stitch loosens or the fabric starts to fray. These designs are not intended for tugging or persistent chewing. Humane World for Animals recommends appropriate toy sizing and discarding damaged toys.
For cats in particular, loose yarn needs attention because swallowed string-like material can cause serious intestinal injury. VCA explains the risks of linear foreign bodies in cats. Avoid adding a string, ribbon or dangling tail to these shapes.
Small finishing choices that matter
Two matching panels should meet without stretching either piece. Check the outline on a table before closing the final section, then make sure every starting tail is buried and every stitch marker has been removed. Leave the inside empty. The thickness in an image is not a reason to add stuffing.
After washing the prototype, let both layers dry completely. Look again at the centre, the joining edge and any shaped junctions. A finished sample is where you can confirm the actual dimensions and yarn use; the supplied images cannot do that for you.
Questions before choosing a pattern
Are these crochet toys suitable for strong chewers?
No. Crochet fabric can unravel, and a pet that shreds or swallows textiles needs a different kind of toy. Close supervision does not make an unsuitable material chew-proof.
Which design is the simplest starting point?
The rectangle has the least shaping. You will still need to count the border stitches and match both panels, so make time for the finishing as well as the rows.
Can I add a squeaker, eyes or catnip?
The supplied drafts deliberately leave these out. Keep the interiors empty and the surfaces plain. Adding a pouch, insert or small feature changes the construction and introduces parts these guides do not cover.
Do all five patterns use the same stitch?
The proposed instructions use US single crochet, but the way it is arranged changes. The rectangle and fish use rows, the oval grows around a foundation chain, the triangle widens gradually and the hexagon grows in rounds. Their shaping and joins are explained separately.
Choose the outline you most want to make, then use its download button above. There is no need to make the full set: one carefully finished sample is a useful place to begin.