
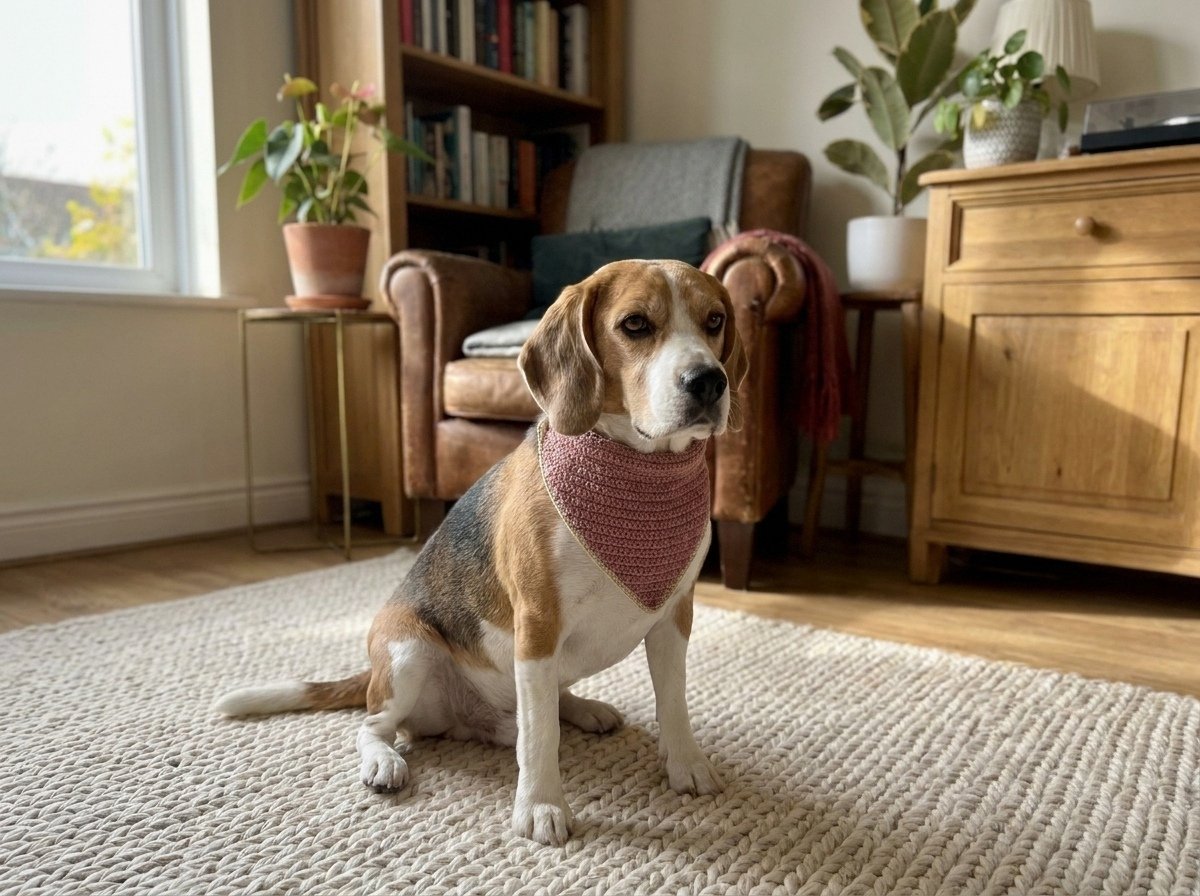
A handmade bandana can make an everyday collar feel special without covering a pet in a full outfit. This crochet pet bandana free pattern uses a shallow triangle, dense crochet rows, a narrow cream border and an integrated collar channel that slides over a normal flat collar. There are no long ties or dangling decorations to manage.
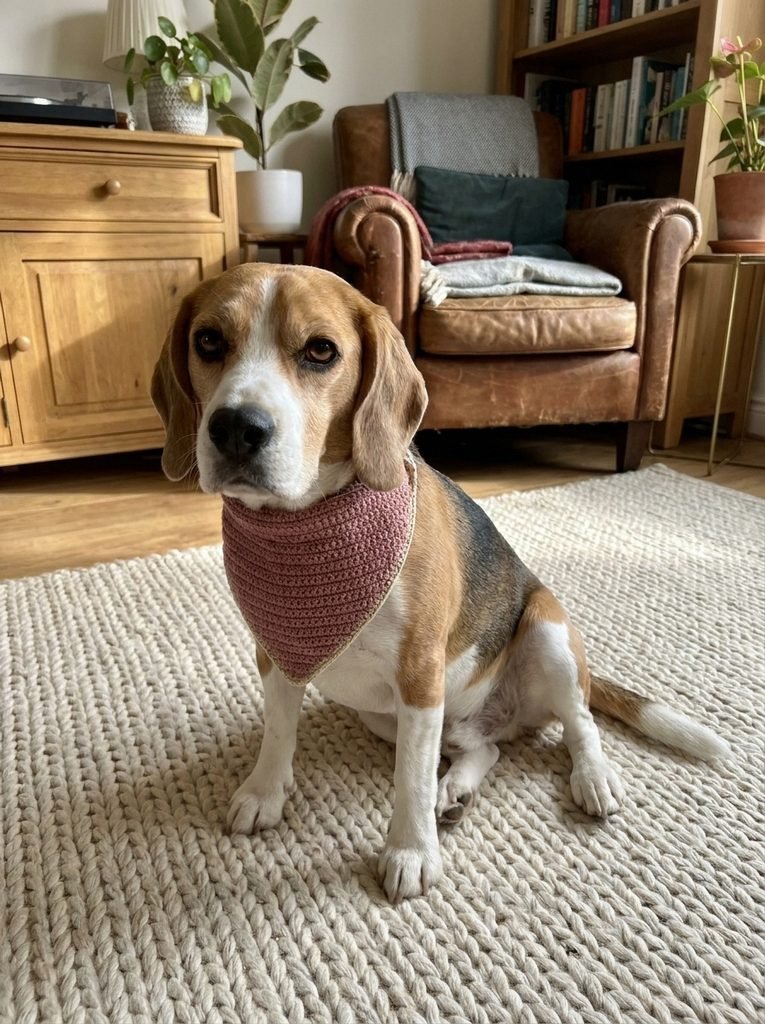
The reference design is shown on a relaxed beagle in a warm living room. The pattern below is a photo-matched, prototype-ready route rather than a physically tested pattern. Crochet one sample, check the fit on the individual dog and record your real gauge before publishing it as tested.
Important: This crochet piece is a decorative accessory. It does not replace a functional collar, identification tag or walking equipment. Use it only over a correctly fitted normal collar and only while supervised.
Why this crochet pet bandana is beginner-friendly
The bandana is built as a flat triangle, so you do not need to shape a complicated garment around the dog’s body. The top edge becomes a short sleeve for the collar, and the cream edging is added after the main triangle is complete. That makes each stage easy to pause, measure and correct.
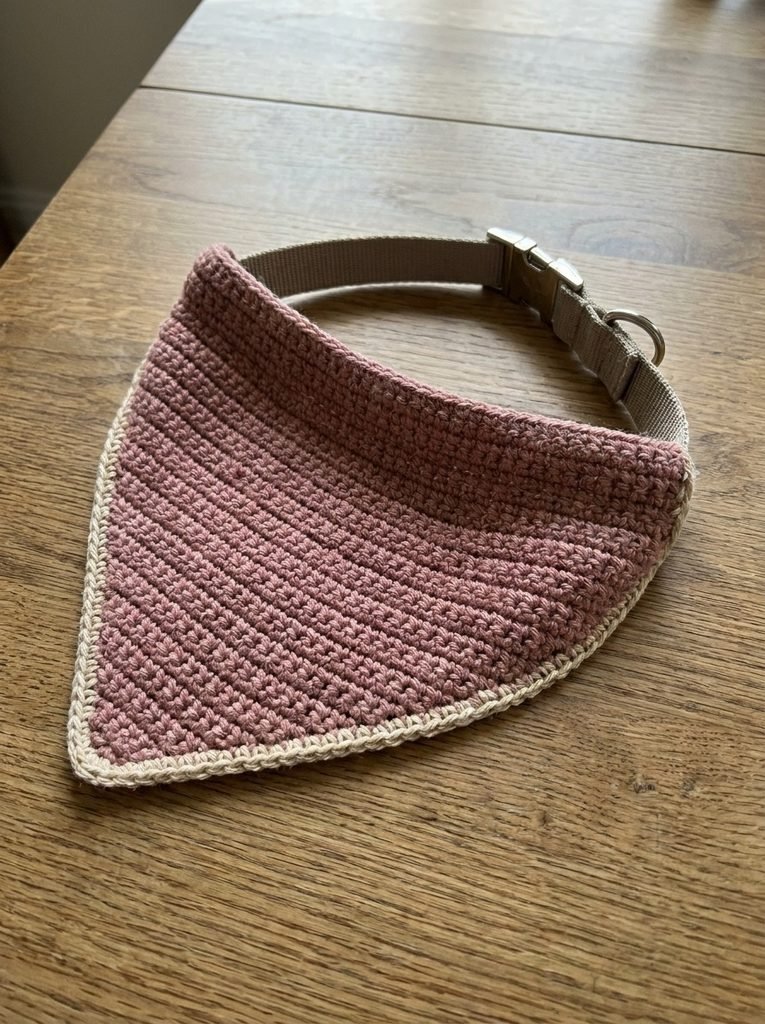
The dusty-rose body and cream border also make the stitch direction easy to see. If your rows begin to lean, or the point starts to twist, you can spot it before adding the channel. Smooth cotton or cotton-blend yarn keeps the fabric readable and washable, while a shallow point keeps the accessory away from the dog’s mouth.
Materials and measurements
Materials
- Smooth DK or light worsted cotton yarn in dusty rose, approximately 45–85 g depending on size
- A small amount of contrasting cream yarn for the border
- 4 mm crochet hook, or the hook that gives a flexible fabric at the target gauge
- Yarn needle and scissors
- The normal flat collar the bandana will be worn over
Target gauge for this draft: 18 single crochet stitches and 18 rows measure approximately 10 cm square after light blocking. Gauge is a starting point only. If your fabric is stiff, use a larger hook; if it is loose and holey, use a smaller hook. The final measurement and comfortable fit matter more than matching a number.
Choose a starting size
Measure the collar section that will pass through the channel, then measure the dog’s neck with the normal collar fitted correctly. Use the table as a starting point, not as a promise that one size fits every dog.
| Starting size | Top edge | Triangle depth | Suggested collar width |
|---|---|---|---|
| Small | 24–27 cm | 11–13 cm | Up to 1.5 cm |
| Medium, photo-style starting point | 30–34 cm | 14–17 cm | About 2 cm |
| Large | 38–42 cm | 17–21 cm | Up to 2.5 cm |
For a more exact fit, measure the top edge of a bandana that already sits comfortably on the dog. Make the crochet top edge the same length, then make the channel tall enough for the collar width plus approximately 0.5 cm of ease. The collar should slide through without stretching the crochet.
How to crochet the pet bandana
1. Crochet the flat triangle
- Choose a top-edge measurement from the table, or measure the bandana width you want. At the target gauge, multiply the target width in centimetres by 1.8 and add 1 for the foundation chain. Round to an odd stitch count after the first row so the decreases finish at one stitch.
- Chain enough stitches to reach the target top edge. Single crochet across the chain, beginning in the second chain from the hook.
- Chain 1 and turn. Single crochet two stitches together at the beginning of the row, single crochet across to the final two stitches, then single crochet the final two stitches together.
- Repeat the decrease row until one stitch remains. Keep the first and last decreases balanced so the point stays centred.
- Fasten off and weave the rose-coloured tail into the back of the fabric. Do not leave yarn ends on the front or near the dog’s mouth.
2. Add the collar channel
- Place the triangle with the right side facing you and attach dusty-rose yarn at one end of the straight top edge.
- Single crochet evenly across the top edge. Chain 1, turn and repeat for enough rows to create a strip measuring the collar width plus approximately 0.5 cm. At the target gauge, this is usually 4 rows for a 1.5–2 cm collar or 5 rows for a collar up to 2.5 cm wide.
- Fold the strip toward the back of the bandana. Sew or slip stitch the lower edge of the strip to the triangle, leaving both short ends open. Test the channel with the real collar before hiding the seam.
- Slide the collar through the channel. The collar buckle and D-ring must remain functional and accessible; the crochet must never become the walking attachment point.
3. Add the cream border
- Attach cream yarn at the upper end of one exposed sloping edge, below the channel.
- Single crochet evenly down the first slope. Place two single crochet stitches, or a small increase that keeps the point flat, at the bottom point.
- Single crochet evenly up the second slope and fasten off at the opposite top edge. Do not add a border across the channel’s top edge.
- Weave every tail into the dense back of the fabric. Trim only after the tail is secure and cannot pull free with a gentle tug.
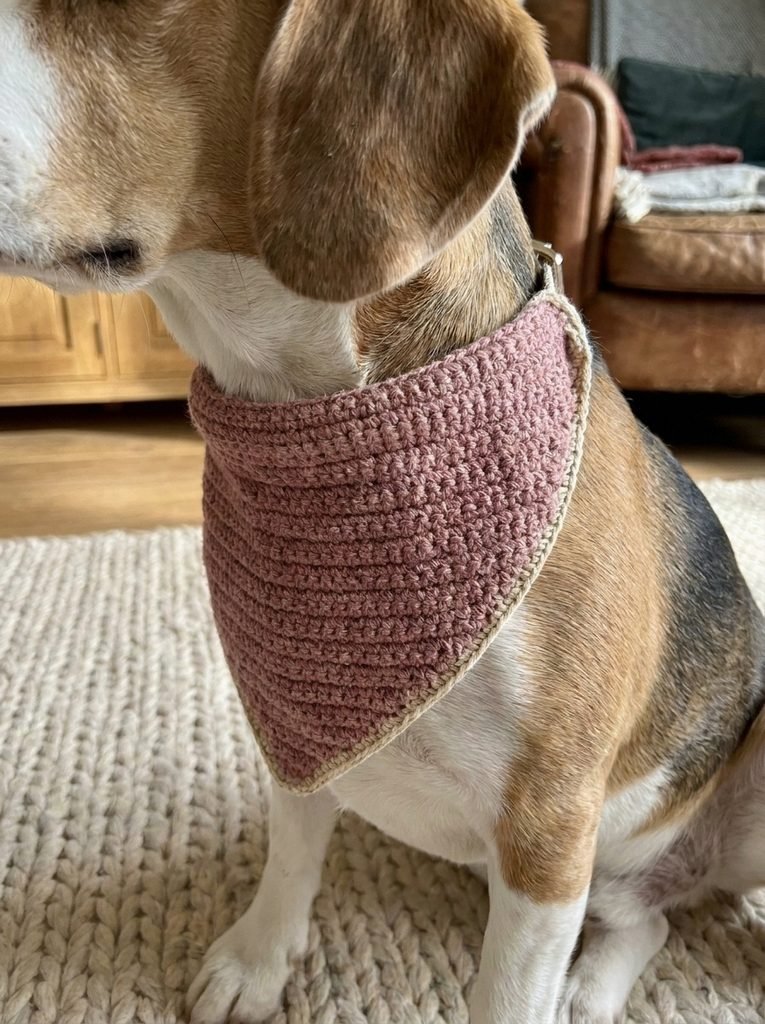
4. Check the finished construction
Thread the normal collar through the channel and lay the bandana flat. The triangle should hang evenly from the front half of the collar, the point should stay centred and the cream edging should lie flat. If the channel twists, open the seam and correct it before the accessory reaches the pet.
This is a photo-matched prototype-ready draft. Crochet, wash if appropriate for the yarn, and fit-test a sample before calling the pattern tested.
How to check the fit on a dog
Put the normal collar on first and confirm its ordinary fit. Then thread the bandana onto the collar and watch the dog stand, sit, turn the head and walk a few steps. The crochet should rest lightly against the chest without pulling upward at the throat or pressing into the jaw.
- Keep the collar’s normal two-finger comfort check; the bandana should not make the collar tighter.
- Make sure the point cannot reach the dog’s mouth when the head lowers.
- Keep the buckle, D-ring and identification equipment visible and usable.
- Stop immediately if the dog pants, scratches, freezes, backs away, chews the yarn or seems unable to move naturally.
- Remove the bandana before crating, sleeping, playing roughly or leaving the dog unattended.
Care and safety notes
Follow the yarn label, but a gentle hand wash in cool water is the safest starting point for a cotton prototype. Press out water without twisting, reshape the triangle and dry it flat. Check the channel seam, border and every woven-in end after washing and before each supervised wear session.
This is a decorative crochet pet bandana, not a cooling device. Do not soak it and place it on a dog as a substitute for veterinary or heat-safety guidance. Never add bells, beads, long ties, tassels or small charms that can snag or be swallowed.
Crochet pet bandana FAQs
Can this crochet bandana replace my dog’s collar?
No. The pattern is designed to slide over a correctly fitted normal collar. Keep the functional collar, buckle, D-ring and identification equipment in place.
Can I make this pattern for a puppy?
Use a measurement-based adjustment rather than relying on the starting sizes. Puppies grow quickly, so recheck the collar and bandana fit often and remove the piece whenever it becomes snug.
What yarn is best for a crochet dog bandana?
A smooth washable cotton or cotton blend is a sensible starting choice because it gives clear stitches and is easier to clean than fuzzy novelty yarn. Avoid yarn that sheds, frays easily or creates loose loops.
How do I make the bandana smaller?
Reduce the foundation-chain length to match the desired top edge, then continue the balanced end decreases until one stitch remains. Adjust the channel rows separately to suit the actual collar width.