
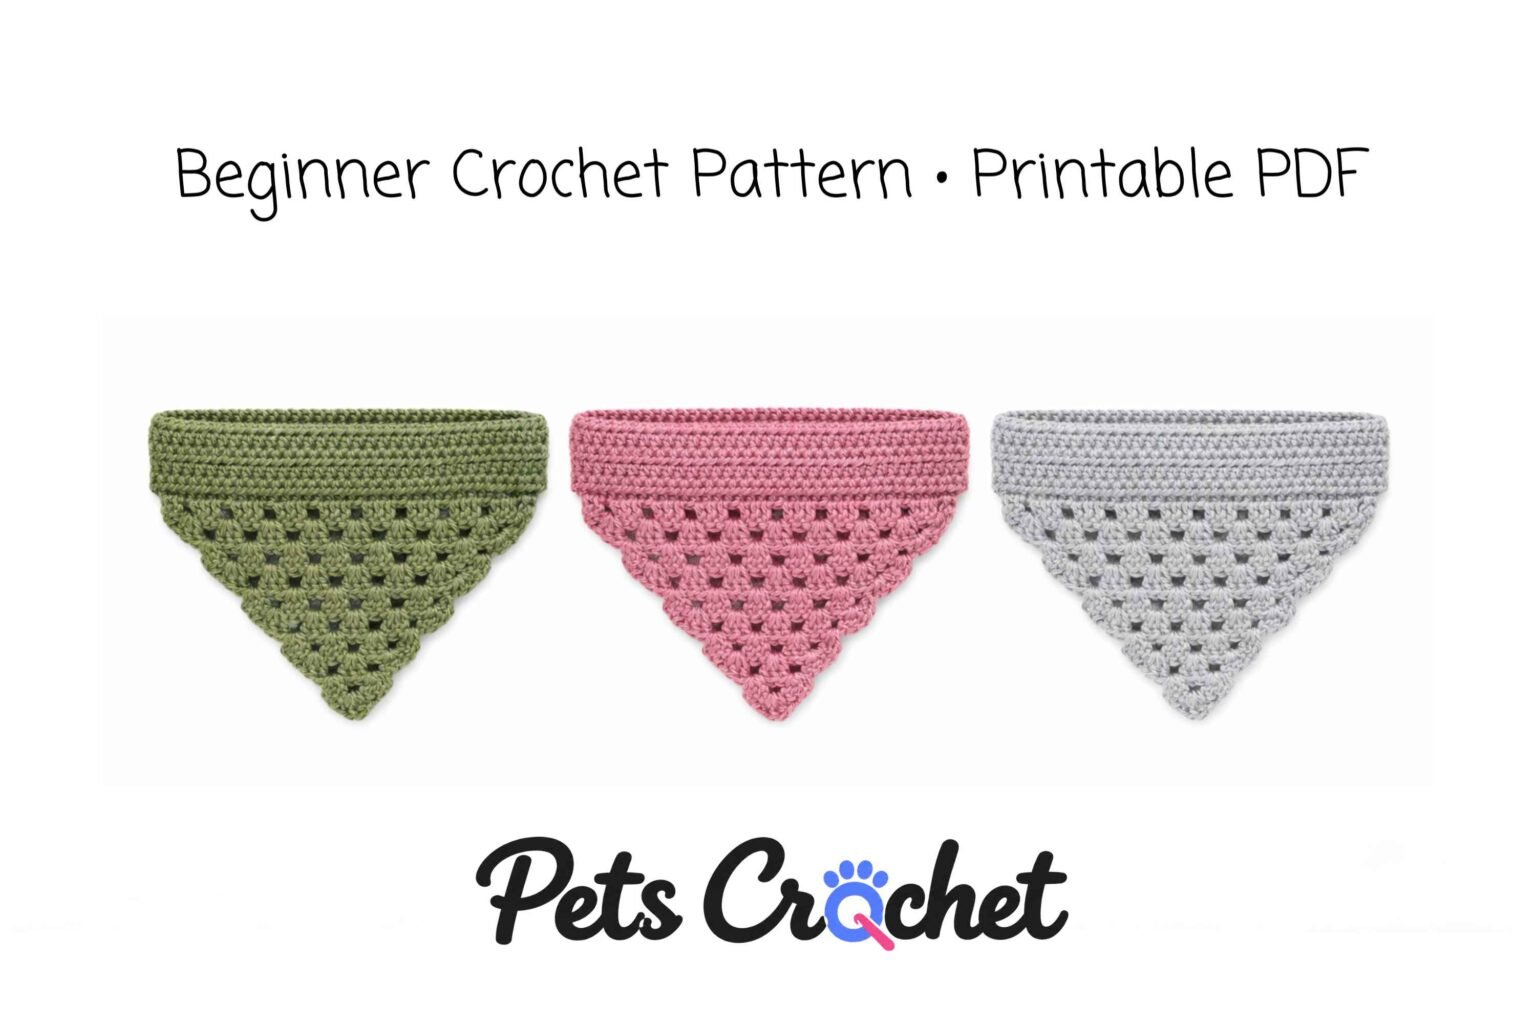
A coral-red triangle, little open spaces between the stitches, and a ribbed band across the top: this crochet dog bandana gets its character from the fabric. The band folds into a sleeve for an existing collar, so there are no long ties to knot behind your dog’s neck.
It is one design to plan around your dog and the collar you already use. The useful measurements are the bandana’s width and drop, plus enough room inside the sleeve for the collar end to pass through.
About the downloadable guide: The source triangle has incomplete shaping instructions. PetsCrochet’s PDF provides a fully counted replacement using a tip-up granny-style triangle and a folded sleeve. It is an untested prototype, and the reference photo does not show a sample made from the new instructions.
1. Coral over-the-collar bandana with a ribbed sleeve
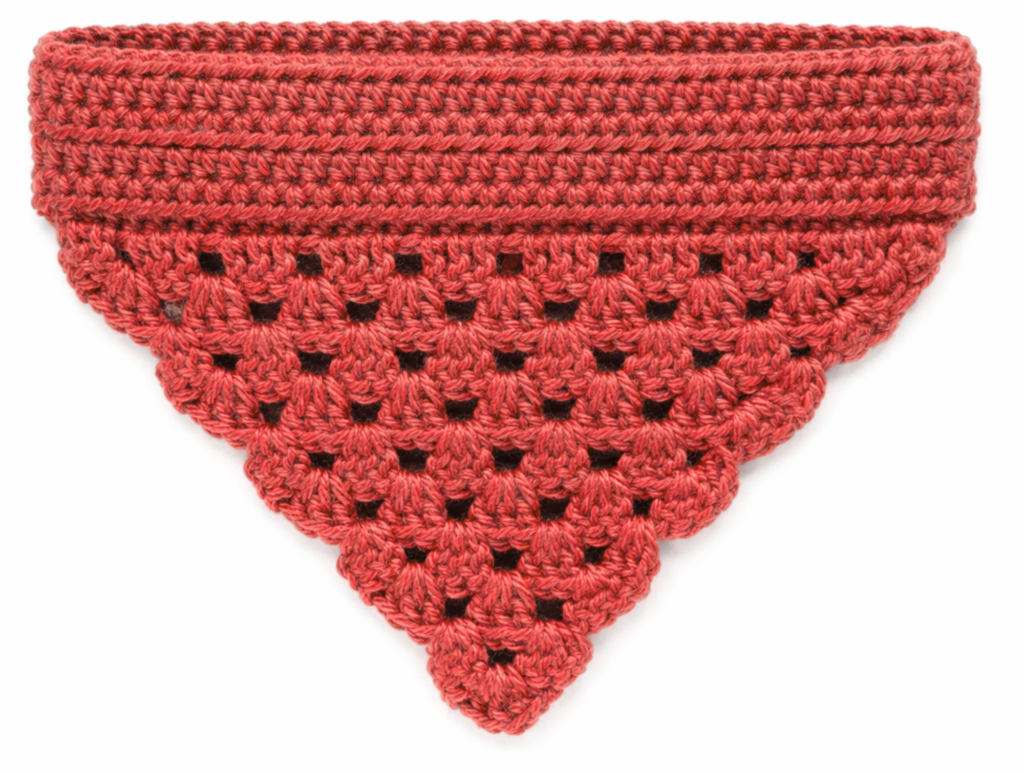
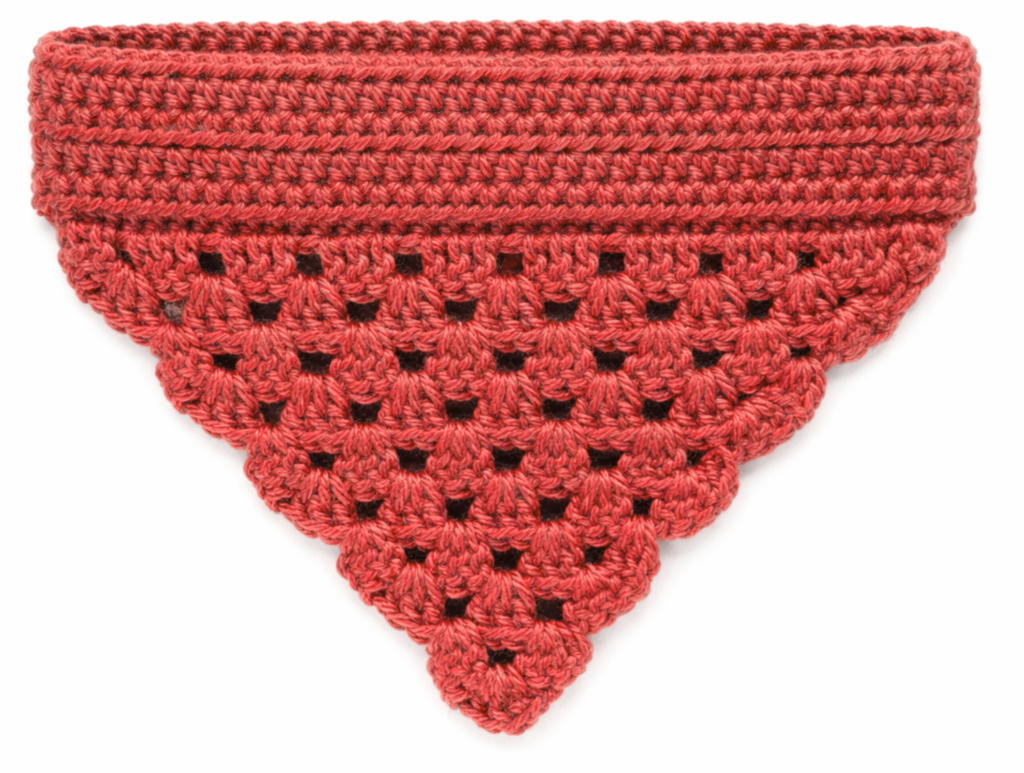
The contrast between the solid top band and the open triangle gives this bandana a clear outline. In the supplied picture, the coral yarn shows the raised horizontal ridges of the sleeve and the small gaps in the triangle. A narrow edge runs down to a neat point.
Keep the colour if you like that warm red look, or choose a shade from yarn you already have. A plain colour lets the texture show. The photo supplies one colour reference; it does not establish a particular fibre, yarn brand or set of tested colour variations.
What the collar sleeve changes
The collar runs through a tunnel across the top of the triangle. You remove or open the collar to thread it through, then refit the collar as usual. The bandana remains a decorative layer: its crochet stitches are not a place to clip a lead.
That tunnel needs to fit the actual collar end, including any fitting that must pass through it. A sleeve that fits the narrow strap but traps the buckle will not work. Test it with the collar off your dog before closing the long seam.
Complete replacement instructions, row counts, sleeve finishing, sizing notes and a labelled construction diagram.
Pick the width before picking a size name
The source describes a Large example at roughly 10–11 inches across the top and 7 inches from top to tip. Those measurements are a reference, not a result guaranteed by the replacement instructions.
Hold a paper triangle of the planned width and drop near your dog before crocheting the full piece. Leave room for normal head and leg movement, and check that the point will not reach the mouth. Choose an unobstructed stretch of collar for the sleeve rather than covering its buckle, adjuster, tag or lead attachment.
Width and sleeve opening are different
Width is the span of the bandana along the collar. The sleeve opening is the passage through which the collar slides. Making the bandana wider does not automatically make that passage deeper; extra sleeve rows control that part of the fit.
The guide starts with ten triangle rows and a six-row sleeve. It explains how to change both from measurements. Those are prototype counts, not three separate Small, Medium and Large patterns.
Yarn, hook and a useful first sample
The source calls for worsted-weight yarn, a 5 mm hook and approximately 60–80 yards. Keep that yardage as a starting planning allowance. The replacement construction, a larger triangle or a deeper sleeve may use more.
Start with smooth yarn so the stitch tops and chain spaces are easy to find. Check its label before choosing how to wash it. There is no fibre specification in the supplied PDF, so the photograph cannot tell you whether its yarn is cotton, acrylic or a blend.
Make the first five triangle rows and lay them flat. Measure their width and depth without stretching. This small piece gives you a better starting point than relying on a breed label or assuming that the same hook produces the same size for everyone.
A separate sleeve test is worth making
The triangle uses double-crochet groups, while the sleeve uses single crochet worked in the back loop. Their proportions differ. The guide includes a short ribbed sample so you can check the fabric, measure its depth and see how it behaves after washing.
How the replacement construction works
The triangle grows from the tip upward, adding one granny-style group per row. At the top, a single-crochet row prepares the edge for the sleeve. More back-loop rows make a strip, which folds lengthwise and joins along one long edge.
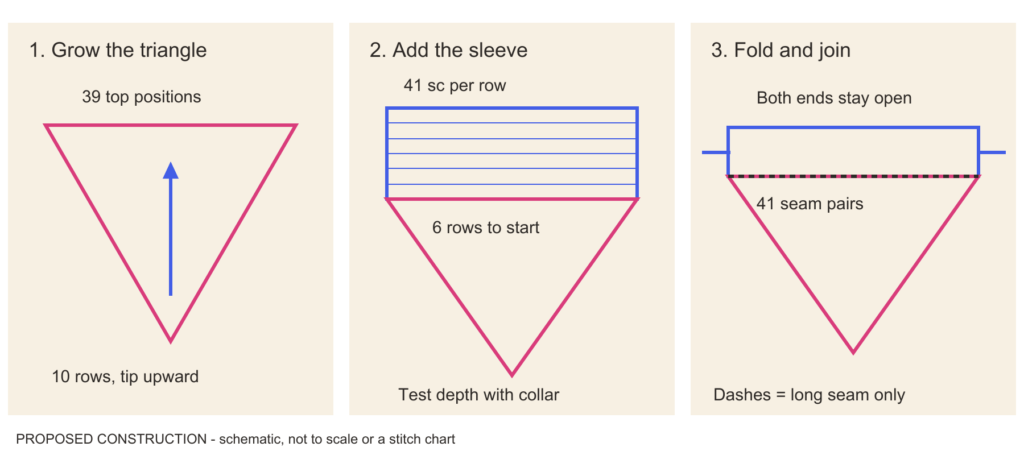
Both short ends stay open so the collar can pass through. The optional border follows only the two sloping triangle edges and its point; it must not stitch either sleeve opening shut.
This method changes the source’s construction order. It gives the written guide consistent counts, but it still needs a physical sample to check the drape, dimensions and resemblance to the reference.
Keep comfort ahead of the photo
Try the finished accessory briefly and watch your dog. Remove it if they freeze, paw at it, chew it or seem uncomfortable. RSPCA Australia notes that some dogs may tolerate a bandana, while recommending close supervision and short wear periods for accessories. Read its guidance on pet clothing.
Check the normal collar again after threading on the sleeve. PDSA advises leaving room for two fingers comfortably between the collar and the dog’s neck. Added fabric should not make that fit tighter or obstruct the hardware. Read PDSA’s collar guidance.
Keep this bandana for supervised wear. Remove it for sleeping, unattended time or rough play, and take it off if a seam loosens or a yarn loop catches. The simple version needs no beads, buttons, tassels or other dangling additions.
Questions before you start
Is this a beginner crochet dog bandana?
The source calls the project beginner–intermediate. For the replacement, you should be comfortable finding the top of a turning chain, working into chain spaces, counting rows and joining two fabric edges. It is better approached as a first measured accessory after practising those skills.
Does it tie around the neck?
No. The proposed sleeve slides onto a suitable existing collar. There are no ties in the instructions, and the crochet does not replace the collar.
Are there step-by-step photos?
The supplied PDF contains one finished reference image. The package includes that image and a labelled construction diagram; no process photographs were supplied or invented.
Can I use a smaller hook to make it fit?
A different hook changes both size and fabric. Make the samples first and measure them. The guide lets you change triangle row count and sleeve depth separately, which is more useful than guessing how much a hook change will shrink the whole piece.
Can I wash it in the machine?
Follow the label of the yarn you choose, and test a sample first. Remove the bandana from the collar for cleaning, dry it fully and check the sleeve fit again. This edition has not been wash-tested.
Start with the collar and the five-row triangle. Once the width, drop and sleeve passage make sense for your dog, use the full guide to finish the piece.
Reference: the user-supplied Crochet Dog Bandana Pattern 2 PDF, with no creator name printed in the file. Replacement instructions and diagram: PetsCrochet. The original image is retained as a reference; the new pattern has not been physically verified.