
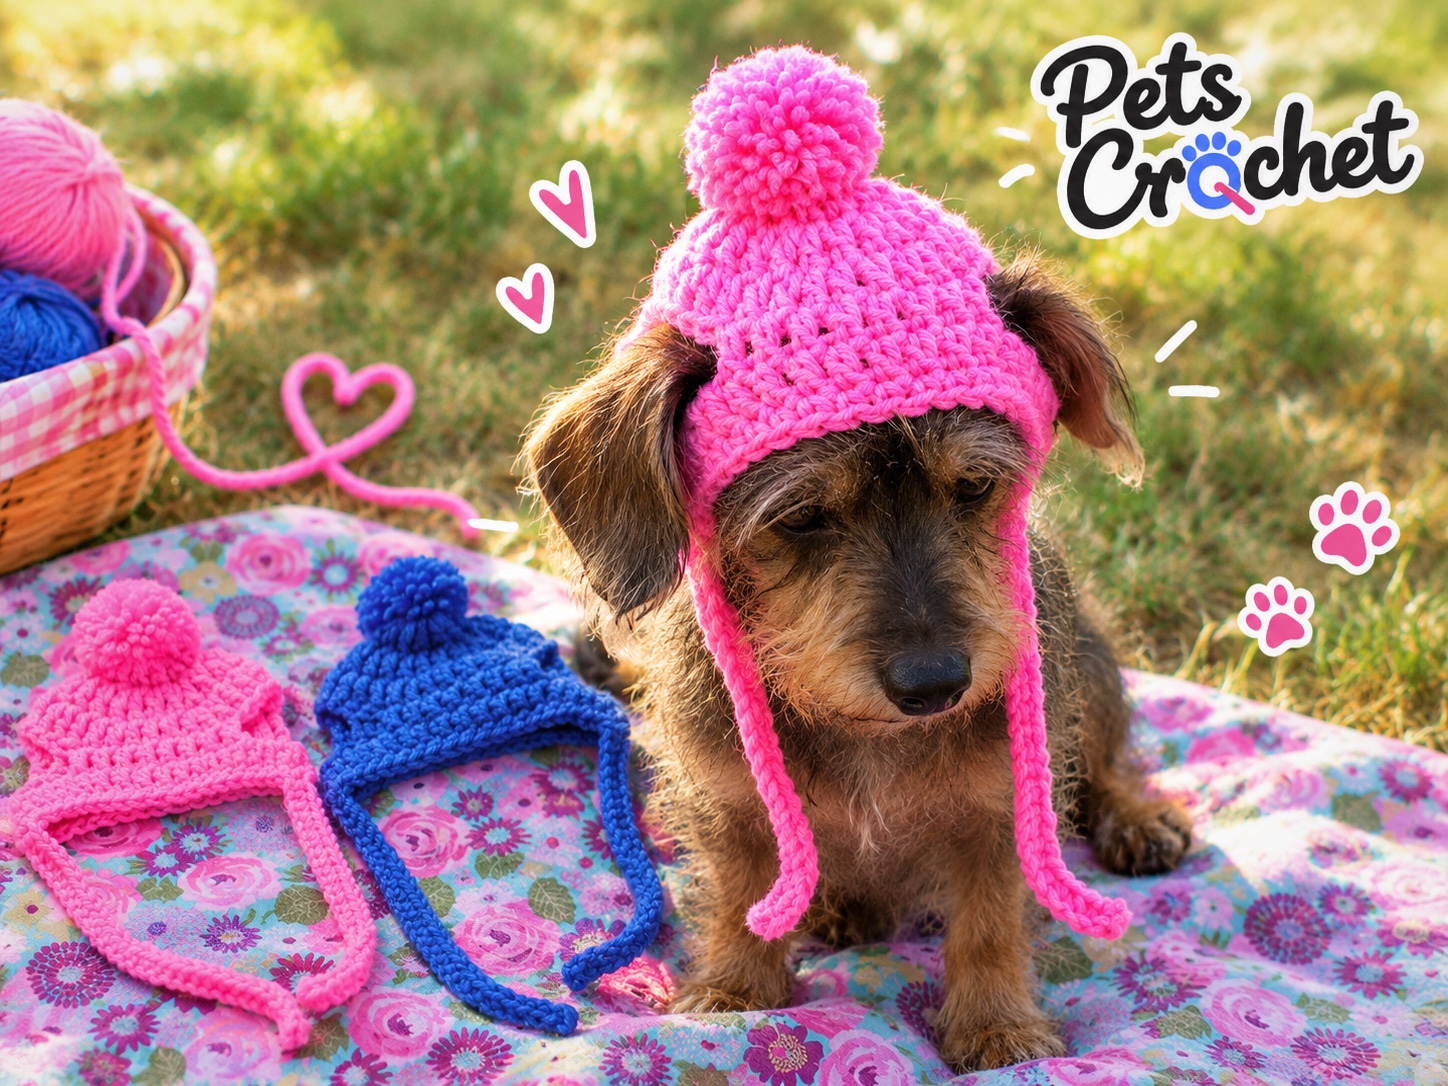
A bright pink hat, a little crown of double crochet and two openings for those floppy ears. This small dog crochet beanie has plenty of character in a compact project. The blue version shows how much the same shape changes with a different colour.
The free PDF takes you through the crown, ear openings and single-crochet border. It also separates the optional display details from the plain hat, so you can decide how to finish your sample.
1. Small Dog Beanie with Two Ear Openings
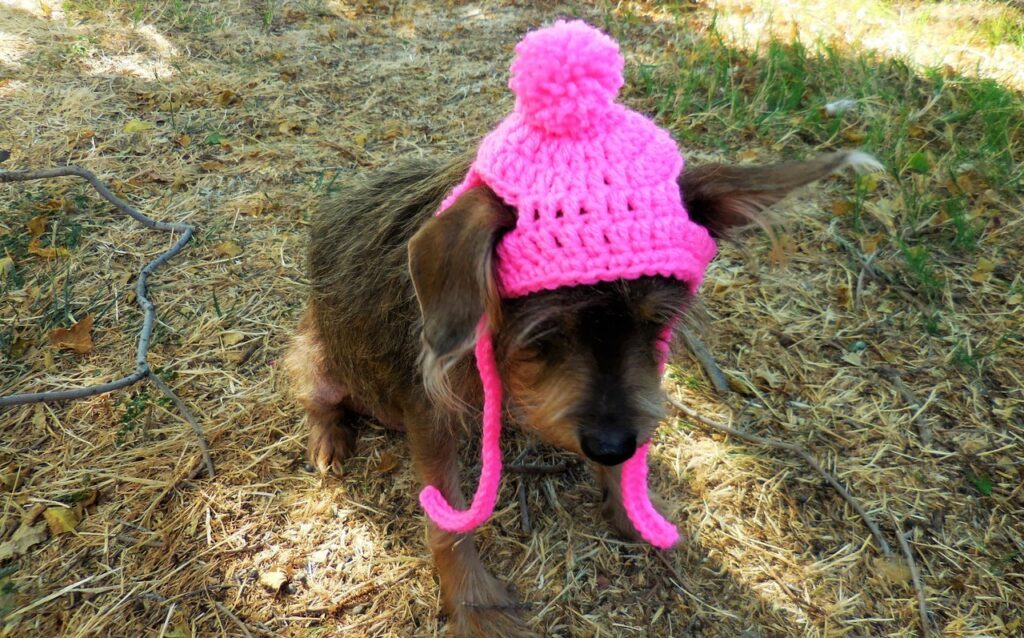
The hat starts at the top with a small single-crochet centre. Double-crochet increase rounds widen the crown, then two chain bridges create the ear openings. One more double-crochet round brings the lower edge together before the single-crochet finish.
That construction makes the ear placement the detail to check first. A hat can have the right overall width and still sit awkwardly if the openings fall too far forward or back. Compare the shape with your measurements before adding anything decorative.
What comes in the free PDF?
You will find the complete seven-round route in US terms, a stitch-count table, an ear-opening diagram and a measurement worksheet. Optional ties and a pom-pom method are included for a display sample. The written clarifications are marked as a prototype-ready draft, with no physical fit or wash testing claimed.
Pink or blue, the shape stays the same
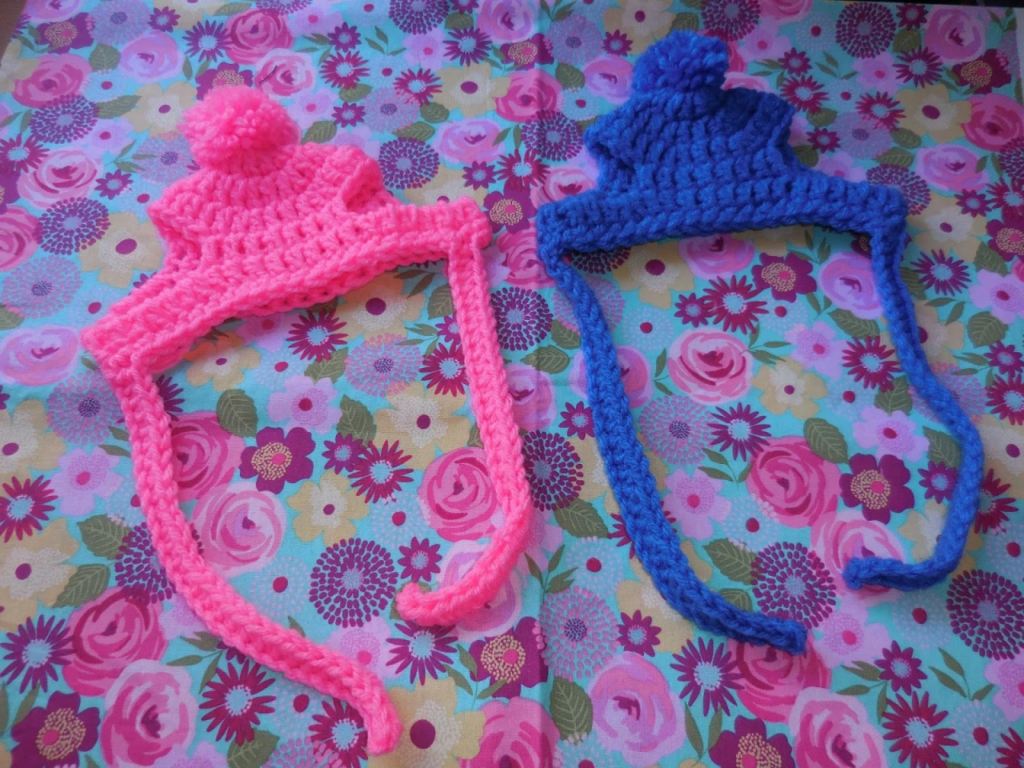
The flat view is useful because you can see both ear openings and the lower border without a pet in the way. Pink gives the hat a bold, playful look; blue makes the same stitches read quite differently against the floral background.
Choose a smooth yarn that lets you see your stitches clearly. A heavily textured yarn could make it harder to check the increases or pick out the chain bridges. Keep a note of the yarn label and hook you use so you can repeat the sample.
What you need
- Worsted-weight category 4 yarn. The pattern names Red Heart Super Saver as its starting yarn.
- A 5 mm H/8 hook as the starting point.
- A tapestry needle, scissors and removable stitch markers.
- A flexible measuring tape and a notebook for the finished sample.
The pattern does not give a numerical gauge, finished measurements or measured yarn use. Start with yarn you can sample, and check your own consumption before buying for several hats. A larger hook changes the whole fabric, including depth and ear spacing; it is not a guaranteed size adjustment.
Measure the head and the ear spacing
The original size label is XS to small. Use it as a starting description, rather than a promise that the hat will fit every small dog. Head shape, ear position and your stitch tension all affect the result.
Record the head measurement where the lower edge would sit, the distance between the ear bases and the depth from the crown to the intended brow edge. Take measurements only if your dog is comfortable with handling. The PDF includes spaces for those measurements and for the actual dimensions of your crocheted sample.
The two openings are formed by skipping stitches and bridging each gap with a chain. Those chains add width around the lower part of the hat. Check both openings against the ear bases; neither should pull an ear into a folded or pinned position.
Choose the finish with your pet in mind
The reference hats have long ties and a yarn pom-pom. Those details can catch or be mouthed, so keep that finish for a display piece or a stuffed animal. The guide explains how to leave both details off the plain beanie. Omitting them does not establish that the hat will fit or stay in place.
If your dog already tolerates clothing, any trial should be brief and closely supervised. Keep the eyes, nose and mouth clear and allow the ears to move normally. Remove the hat if your dog freezes, paws at it, tries to escape or appears uncomfortable. Skip it entirely if you are unsure. A hat that needs tightening or restraint to stay on is not a suitable fit.
For cats, use the beanie as a crochet display project rather than dressing them up. There is no need for your pet to model a finished make: the two hats photographed flat already show the construction clearly.
This is a decorative crochet project. It does not replace a collar, harness, identification or any veterinary advice about warmth. Never attach the ties to walking equipment or interfere with a collar’s release.
Before you put the project away
Weave in the ends securely, check the starting ring and inspect the lower edge. Follow the care instructions on your actual yarn label, and test the fabric before making a whole-hat washing claim. Store the hat and any loose yarn or trim out of your pet’s reach.
Questions before you start
Is this a beginner crochet pattern?
It uses familiar stitches, but you should be comfortable joining rounds, counting increases and working over chain spaces. The ear-opening round deserves a slow read. Stitch markers help you keep track of the skipped groups and the first stitch of each round.
Does the starting chain count as a stitch?
No. The guide treats the starting chains as height only and joins each round to its first actual stitch. Counting the chain as an extra stitch would change the crown and lower-edge totals.
Are there separate pink and blue patterns?
No. They are two colour versions of one design. The free PDF covers the beanie, with optional display finishing.
Can I make it bigger with a larger hook?
A larger hook can change the dimensions, but it also changes the holes and fabric. Make a new sample and measure it. There is no verified larger-size chart, and a pet’s weight alone cannot tell you whether the openings will line up.
Do I need to add the pom-pom?
No. Finish the crown without it for a plain sample. The pom-pom instructions are an optional display finish, not a requirement for the beanie’s construction.
Are there step-by-step photos?
The two photographs show finished hats. The PDF adds a labelled construction diagram and written rounds, so the finished views are not presented as making steps.


