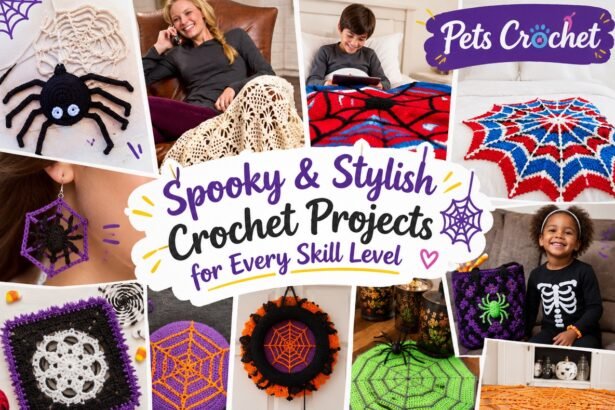

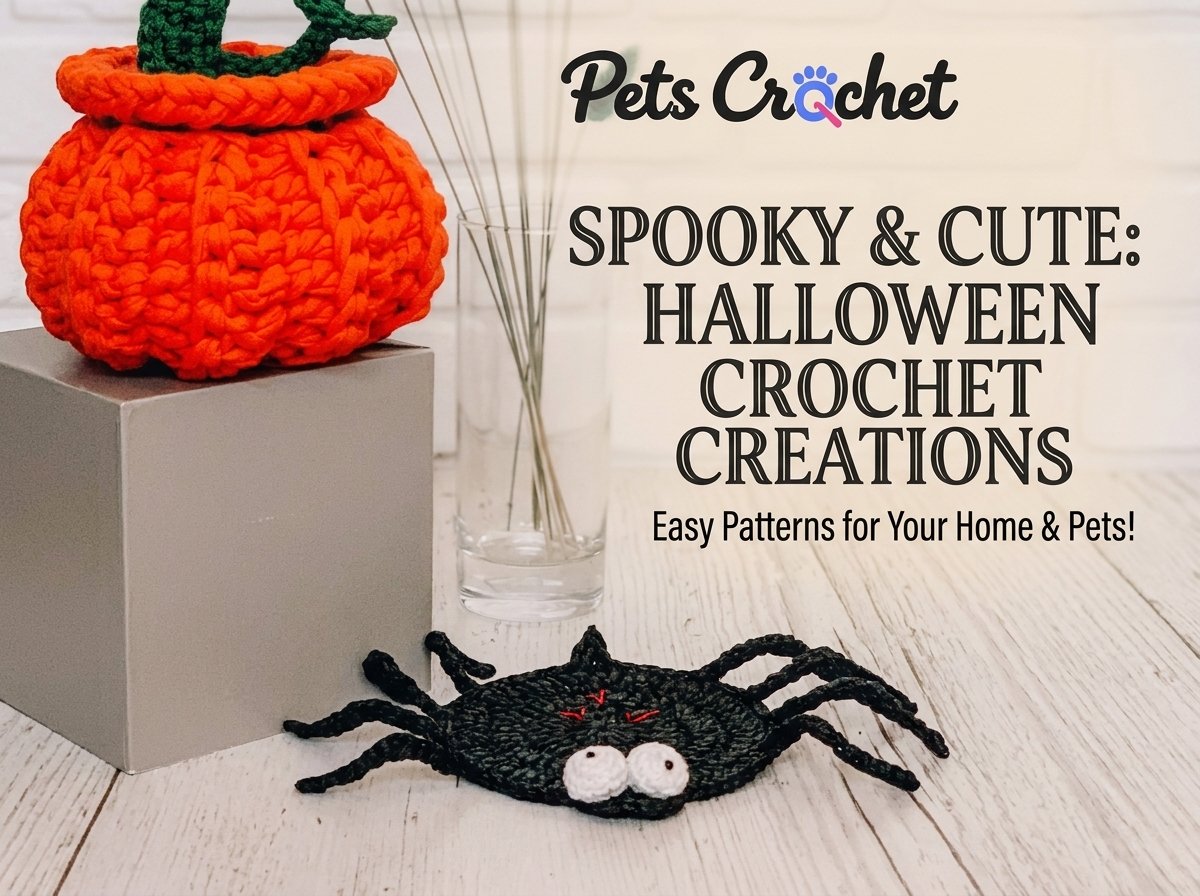
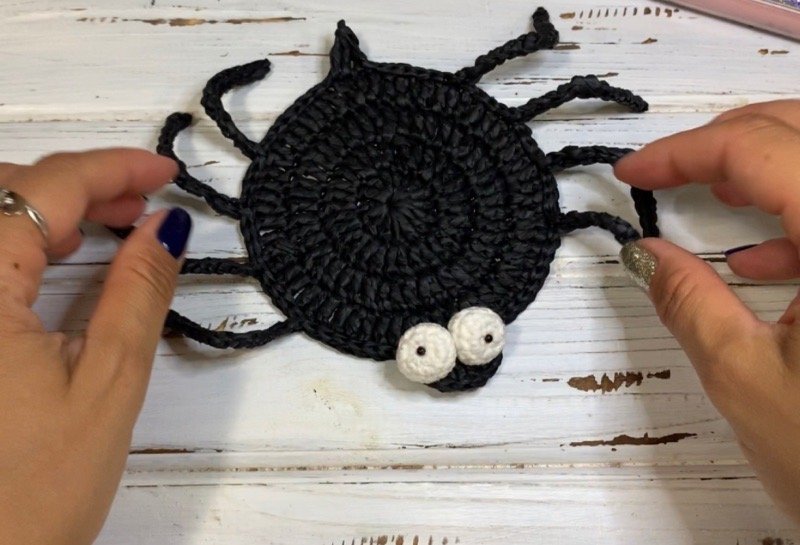
A black circle, eight bent legs and two round white eyes: this crochet spider coaster gives a Halloween table a little character without taking over the whole display. The eyes sit at the front edge, leaving the middle of the body as the resting area for a small cup or vase.
The original design is by @smachna.torba. Its source photos show the project from the first chain to the red embroidered details. Here is what to know before choosing your yarn and starting the circle.
Editorial review copy: The linked adaptation is untested and for private review. The source restricts redistribution; obtain the creator’s permission before publishing its photos or offering this PDF publicly. The download wording below is prepared for that cleared edition.
1. A crochet spider coaster with eight bent legs
The shape does most of the work here. The circular body stays simple, while the angled legs turn it into a spider. Small stuffed eyes soften the face, and a few red stitches break up the black fabric. You do not need several colours or a large collection of decorations to make it read as Halloween.
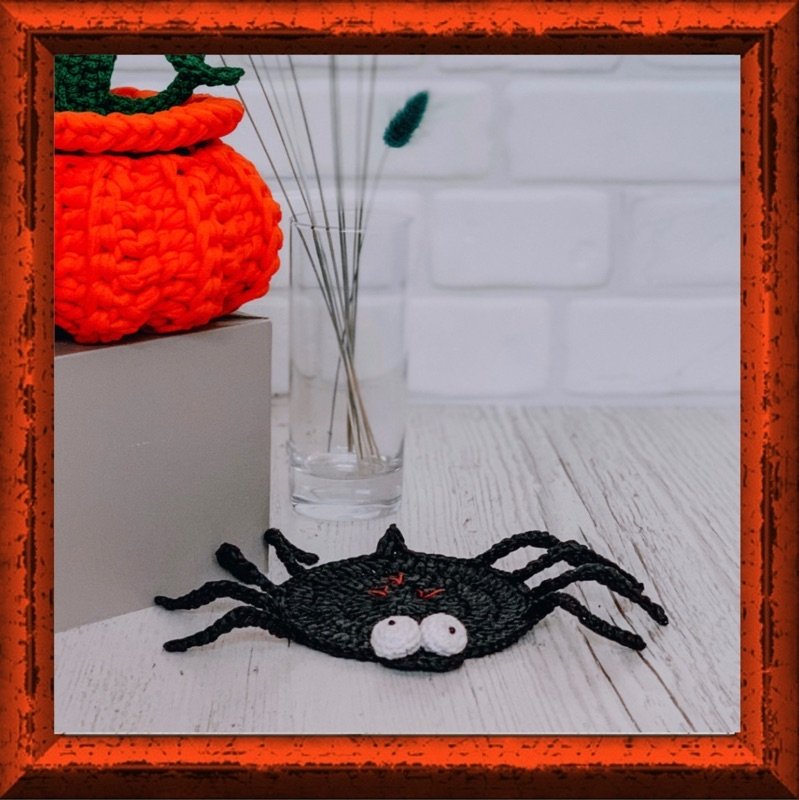
The source uses raffia for the body and legs. That gives the black stitches a different look from the pale yarn used for the eyes. If you change the body yarn, treat the result as a new sample: the circle size, leg shape and how the coaster sits may all change.
Private adaptation for review; public download awaits permission and a physical sample check.
What you will need
Gather black or brown raffia, small amounts of white and red yarn, 2 mm and 3 mm hooks, stuffing, markers and sewing tools. The source eyes use two tiny black beads. Its raffia allowance is one third of a skein, but the skein size is not specified, so check your own supply rather than shopping from that fraction alone.
Check the flat circle first
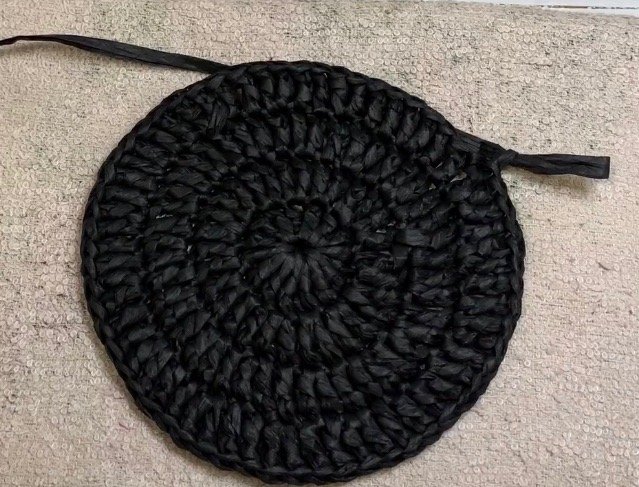
The body grows over four double-crochet rounds before the legs are added. Count each round and lay the circle on the table. If it cups or ripples, sort that out now; the edge will be harder to assess once eight legs are in the way.
The original body is about 11 cm across, with an overall leg spread of roughly 22 cm. Those are source measurements, not dimensions verified from a PetsCrochet sample. Check that your intended cup fits on the flat centre without touching the raised eyes.
Use markers to keep the legs in order
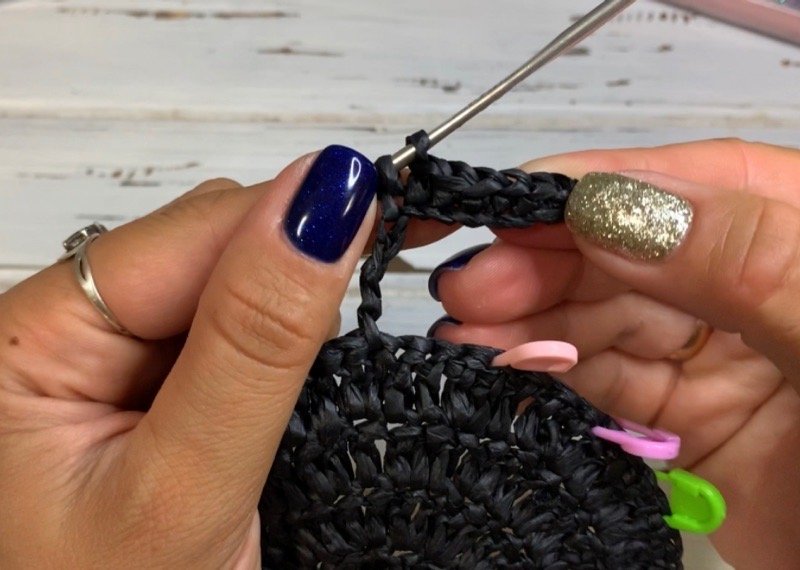
There are four legs on each side. The source marks the attachment positions around the body, then works each leg out on a chain and back again. An increase partway along that chain creates the bend.
Keep your markers in place until you reach them. It is much easier to spot a missed position on a plain circle than to count around a finished spider. The adapted guide makes its interpretation of the edge joins explicit, because a couple of transitions in the source need clarification.
Leave the expression until the end
The eyes are small stuffed pieces sewn along the front. Place both before attaching either one, then look at the coaster straight on. A small shift in spacing changes the expression. The red embroidery goes on the body after the eyes are in place.
A Halloween corner in a home with pets
This fits PetsCrochet as a project for the home: the same reader making a dog bandana might also want a handmade detail for an autumn table. Let the coaster be a coaster. There is no need to call it a pet accessory to make that connection.
Put it on a table or display surface your pets cannot reach, and keep the projecting legs, small beads and stuffing away from curious mouths. Store leftover yarn as you work. VCA explains why swallowed string can be dangerous for cats; this design is not a pet toy.
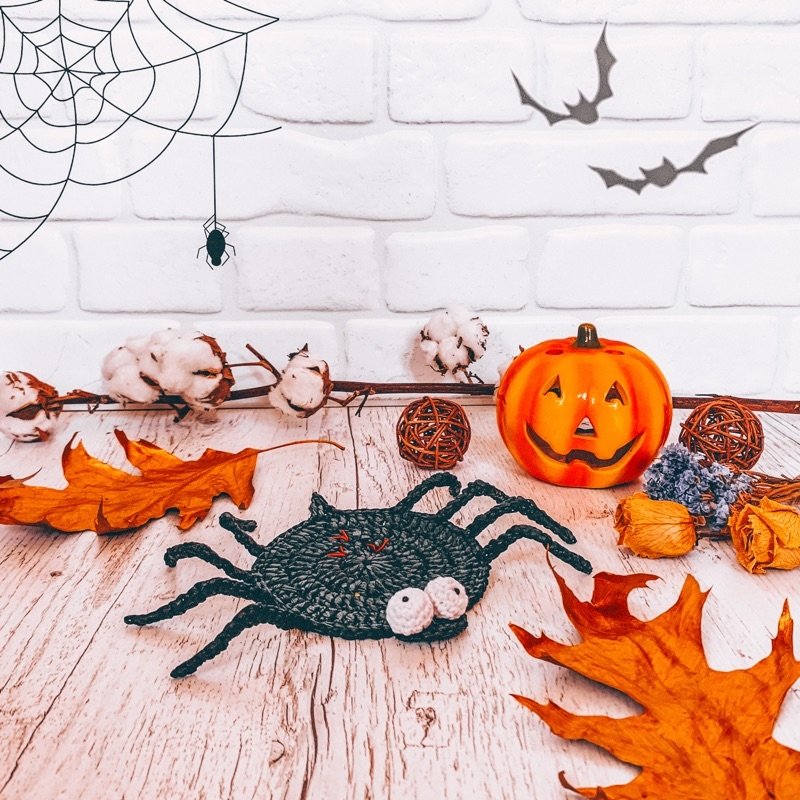
For a small seasonal arrangement, pair one spider with a pumpkin and a plain cup, as the source styling suggests. Leave enough clear tabletop around the legs so the outline is easy to see. You can use the same crochet-home collection for pumpkin decor and other coasters while keeping wearable pet projects in their own categories.
Before you make it
Is this a beginner crochet pattern?
The source labels it beginner level. You will use chains, slip stitches, single crochet, double crochet, increases and decreases, then stuff and sew the eyes. If tiny pieces or raffia are new to you, expect to spend extra attention on those parts. No making-time claim has been verified.
Can I use ordinary yarn instead of raffia?
You can experiment, but it is a substitution. Make the circle first and check its diameter and flatness before continuing. The legs may need more arranging, and the finished dimensions will depend on your yarn and tension.
Can I iron or machine-wash the finished coaster?
Follow the labels of the materials you actually use. The original tutorial mentions steaming, but that does not establish that every raffia or replacement yarn tolerates an iron. Test any permitted treatment on a scrap first. Machine washability and heat protection have not been verified.
Does the guide include step-by-step photos?
The private review guide includes all 35 project images extracted from the source: finished views, materials, process photos and a marker diagram. These are the original maker’s images, with their provenance recorded. The public edition needs permission to reuse them.
Save the finished reference while you choose your materials, and check the circle before committing to the legs. That small pause makes the rest of the project easier to judge.