

The ears are what give this baby rabbit crochet pattern its character. Set them into a shallow V, tuck the hind feet against the rounded seat and give the rabbit a tiny stitched nose. The result is a sitting bunny for a shelf or a spring display.
1. Sitting Baby Rabbit Amigurumi
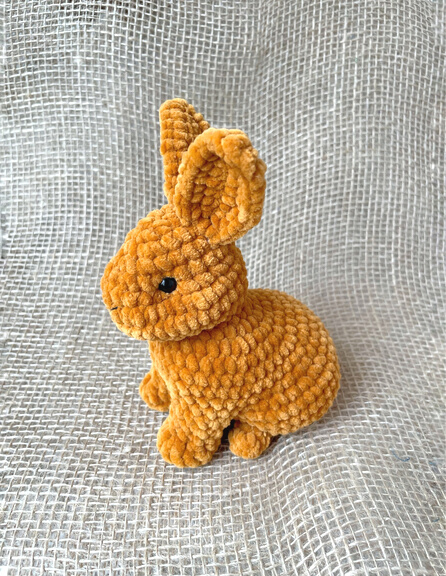
The free PDF makes one rabbit with a sewn head, four paws and a small tail. Photos from the original pattern sit beside the relevant steps. The captions explain how to use them when the pictured construction differs from the written draft.
Choose velvet or a fluffy finish
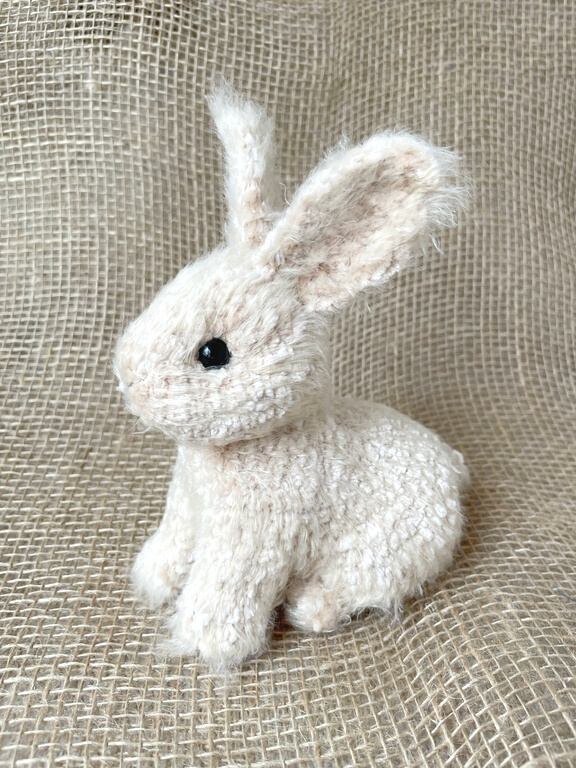
Velvet makes the rows easier to see. Faux fur softens the outline and can hide the eyes, so embroider a small test oval before finishing the face. Use the same stitch schedule with either yarn, then check the fabric and size on your own sample.
Give the ears a little shape
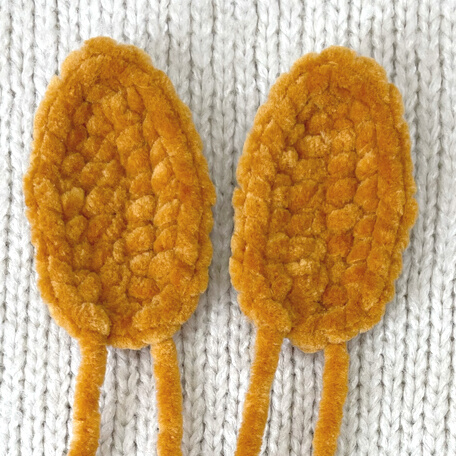
Make the two ears side by side so you can compare their length. Pinch the lower edge of each ear, then pin both to the head. Check their angle from the front before you sew.
Balance the seated pose
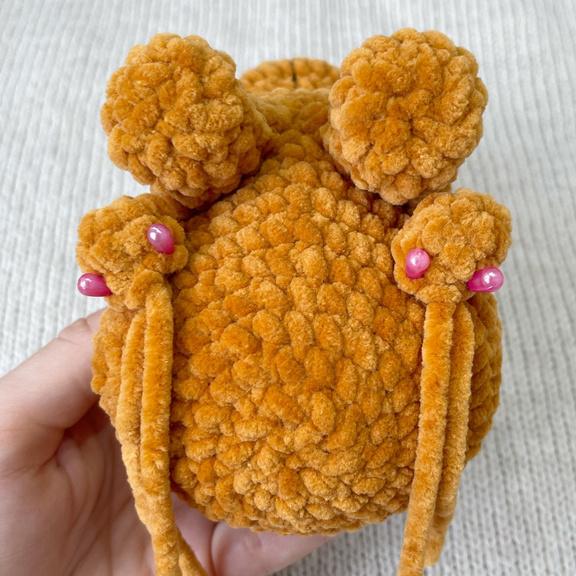
Set the bunny on a level table while you position its paws. The broad base should take the weight, with the hind paws low enough to steady the body. Baste the head before closing the seams so you can still adjust its angle.
Questions before you start
Do the two yarn looks use different patterns?
They use the same directions. The fluffier yarn makes stitch tops harder to see, so use extra markers and count each round.
How tall is the rabbit?
The new draft has no tested dimensions. Measure the swatch and record the seated height, with and without the ears, after assembly.
Which parts need sewing?
The head, ears, paws and tail are sewn on. The photos illustrate their placement. Use the written guide for the new stitch counts and seams.