
A crochet pet food mat can make the feeding corner feel like part of the room. A quiet green rectangle, a warm striped runner or a simple dark frame gives ordinary bowls a place of their own. The useful detail is the edge: it should rest flat instead of curling into the space where paws and bowls need to go.
These ten ideas share that goal, with different shapes, textures and colorwork to choose from. Each has a separate free pattern PDF beneath its photo. The guides are original prototype-ready drafts. Choose care-compatible yarn, then crochet, wash and check a sample before treating the dimensions or washability as confirmed.
Jump to a design: 1. Sage Ribs · 2. Cream Wave · 3. Navy Runner · 4. Oat Oval · 5. Blue Corners · 6. Two Colors · 7. Rust Stripes · 8. Green Checks · 9. Honey Texture · 10. Dark Frame
Choose a crochet pet food mat for your bowls
Start by arranging the bowls on the floor and measuring the whole setup, including the gap between them. A cat’s two dishes may need more room than one larger dog bowl. Leave the margin that works in your space, then choose a shape and stitch you would enjoy making.
| Your priority | Ideas to compare |
|---|---|
| Simple row-by-row construction | 3. Navy runner, 7. Stripes, 10. Charcoal frame |
| Low surface texture | 1. Sage ribs or 9. Honey |
| Curved or rounded shaping | 4. Oatmeal oval or 5. Dusty blue |
| Colorwork as the main feature | 2. Wave, 6. Split colors, 8. Checks |
1. Sage Ribbed Mat With Room Around the Bowls
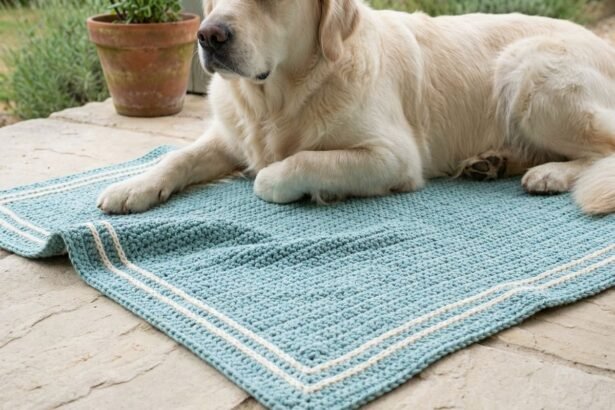
Sage is an easy color to live with when the feeding corner stays in view all day. Here, the extra fabric in front of the bowls is part of the appeal. The low ribs add a little structure without turning the mat into a padded rug.
This version is larger and more textured than the original plain-mat idea. Its guide works the ribbing across the longer dimension, then finishes with a narrow matching edge. Set out your own bowls before choosing the final size; the dog in the picture is not a measuring tool.
A detail worth checking
Check that both bowls sit level on the washed ribbing. If the fabric shifts or the bowls rock, change the mat setup before use.
2. Taupe-and-Cream Wave Mat for a Cat Corner
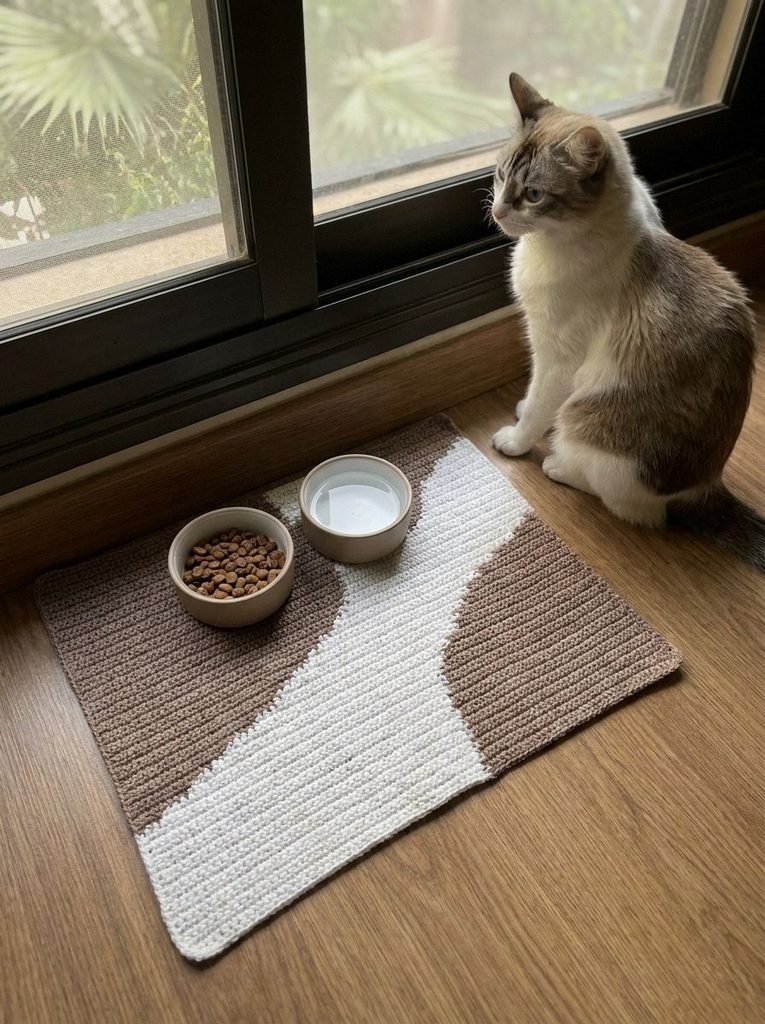
The broad cream curve gives this small feeding corner some movement without adding anything on top of the fabric. Taupe keeps the contrast soft, and the two bowls leave enough of the wave showing to make it worth the extra colorwork.
The supplied image became a different design from the terracotta square we first planned. Its PDF now includes an original wave chart and a row-by-row color key. This is a project for someone comfortable changing yarn within a row; it is not grouped with the easiest plain rectangles.
A detail worth checking
The photo shows the mat on a wood-look floor. Lift it after spills and check underneath; cotton fabric is not a waterproof floor protector.
3. Navy Runner With Camel End Bands
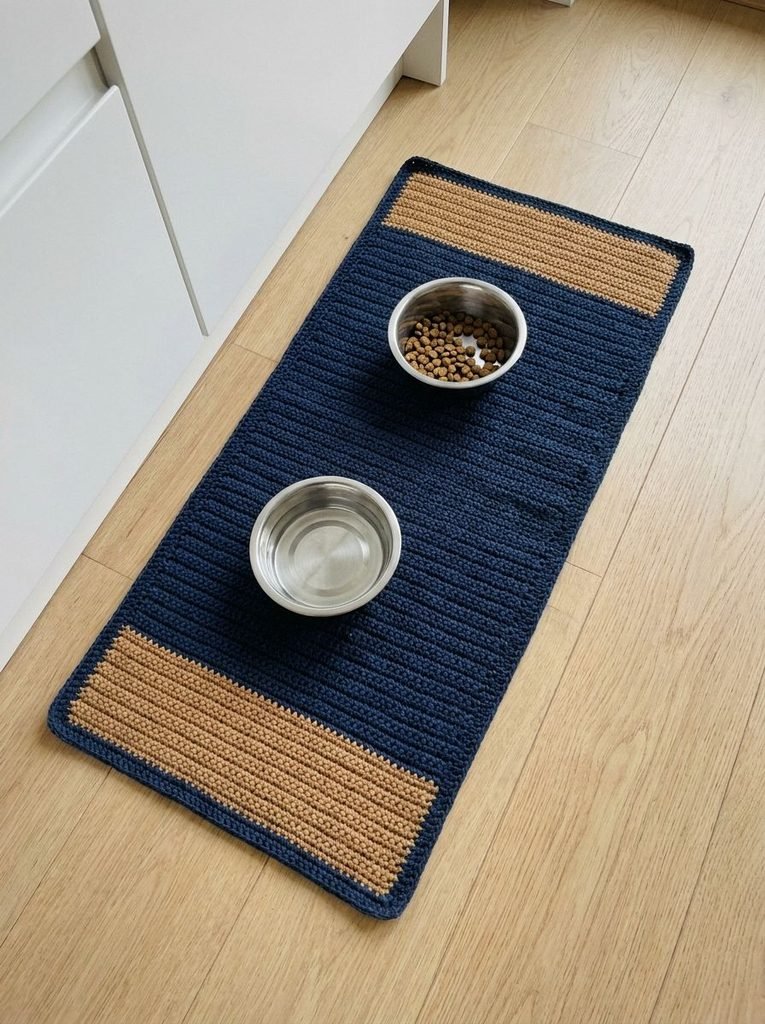
A runner makes sense when the available floor space is long and narrow. The camel bands mark the ends, while the navy middle keeps the two bowls visually together. There is no need to turn the project into a large square to fit a slim kitchen corner.
The pattern is worked back and forth across the short side, so the end bands come from simple full-row color changes. Its written size is a starting point. Check the bowl bases and the space around them before committing to the length.
A detail worth checking
Leave room around the bowl bases and keep the runner out of a doorway or walking route.
4. Oatmeal Oval With a Plain Outer Edge
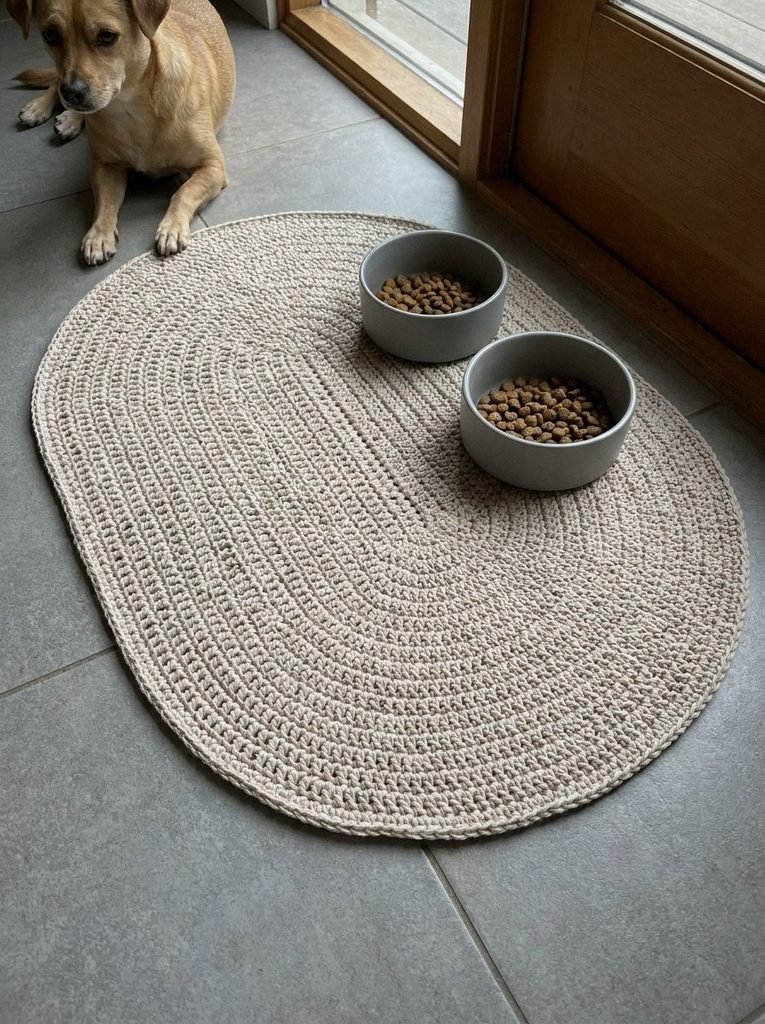
An oval softens a feeding corner full of straight cabinet lines. The oatmeal yarn keeps the shape quiet, while the rounds give the eye a path around the bowls. It is a useful alternative if you prefer curved ends to four corners.
The guide builds outward around a foundation chain and keeps the shaping going through the final rounds. That last detail matters: an oval can start to cup if the outer rounds stop increasing too soon. The written fabric is a dense approximation of the pictured texture.
A detail worth checking
Check the mat with the bowls removed. The dog’s paw in the reference is not evidence that the edge stays flat on its own.
5. Dusty-Blue Mat Worked From the Center Out
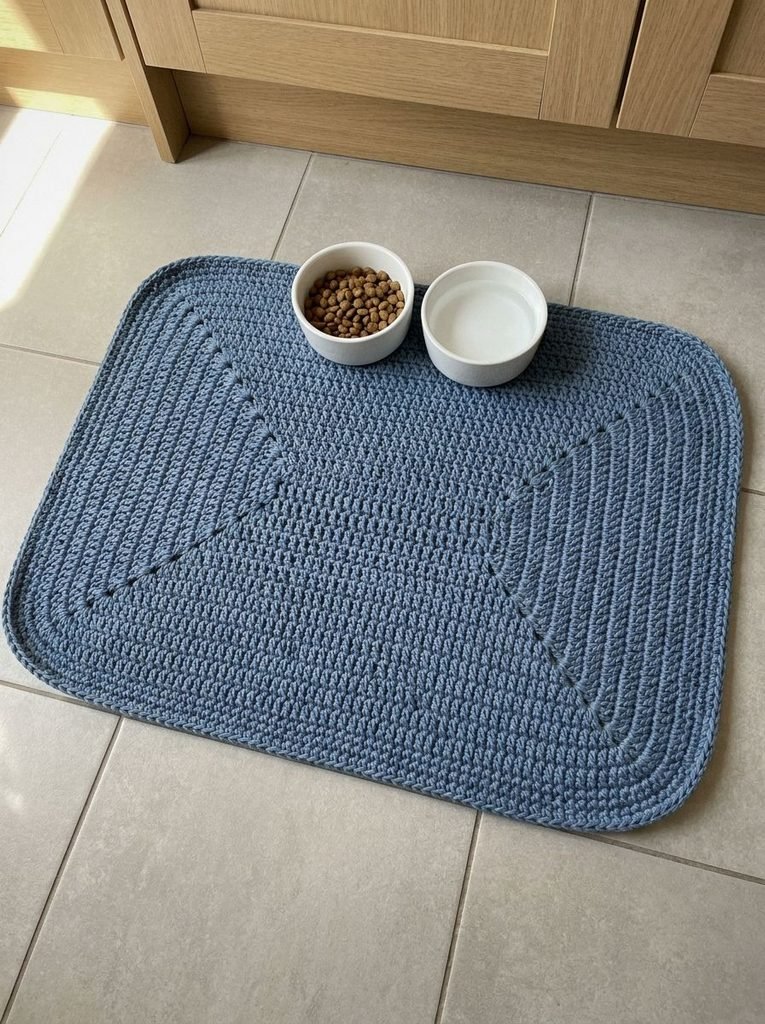
The blue mat has more going on than its simple color suggests. Look closely and you can see the rounds spreading out from the center, with diagonal lines leading toward the corners. Those lines become the decoration.
Its PDF follows that center-out construction rather than pretending it is a rectangle made entirely in rows. The written version avoids corner chain spaces, so expect a denser corner than the small openings visible in the image. The border still needs a relaxed, unpinned flatness check.
A detail worth checking
Do not stretch or pin the corners into a flat shape and call them finished. Correct the stitch placement if they lift again once dry.
6. Sage-and-Oat Mat With Two Color Zones
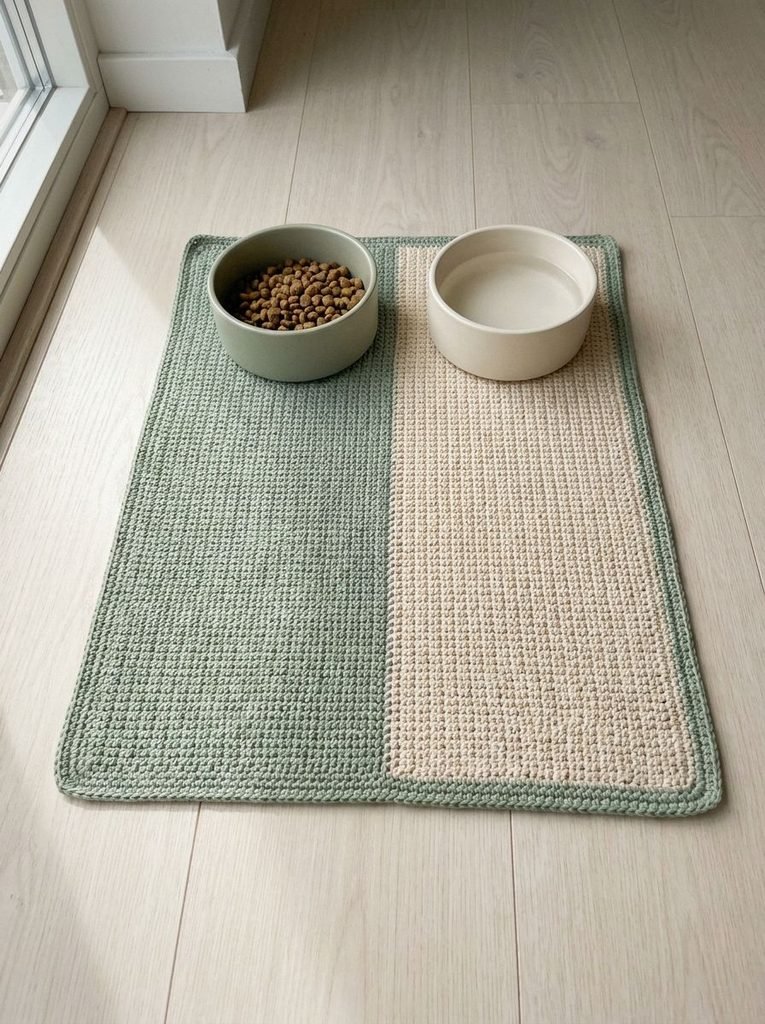
The split-color mat gives each bowl a visual place without stitched labels or added patches. Sage and oat work particularly well with plain ceramic dishes, and the clear division keeps the finished piece easy to read.
The guide works both halves together with two yarn supplies, joining the colors within each row. That keeps the center flush. You can swap the bowls between the two areas; the colors are a styling choice, not a rule about food and water.
A detail worth checking
Watch the yarn join down the middle. Pulling it tight can draw the fabric inward even when the outer border looks tidy.
7. Rust-and-Cream Stripes With a Quiet Border
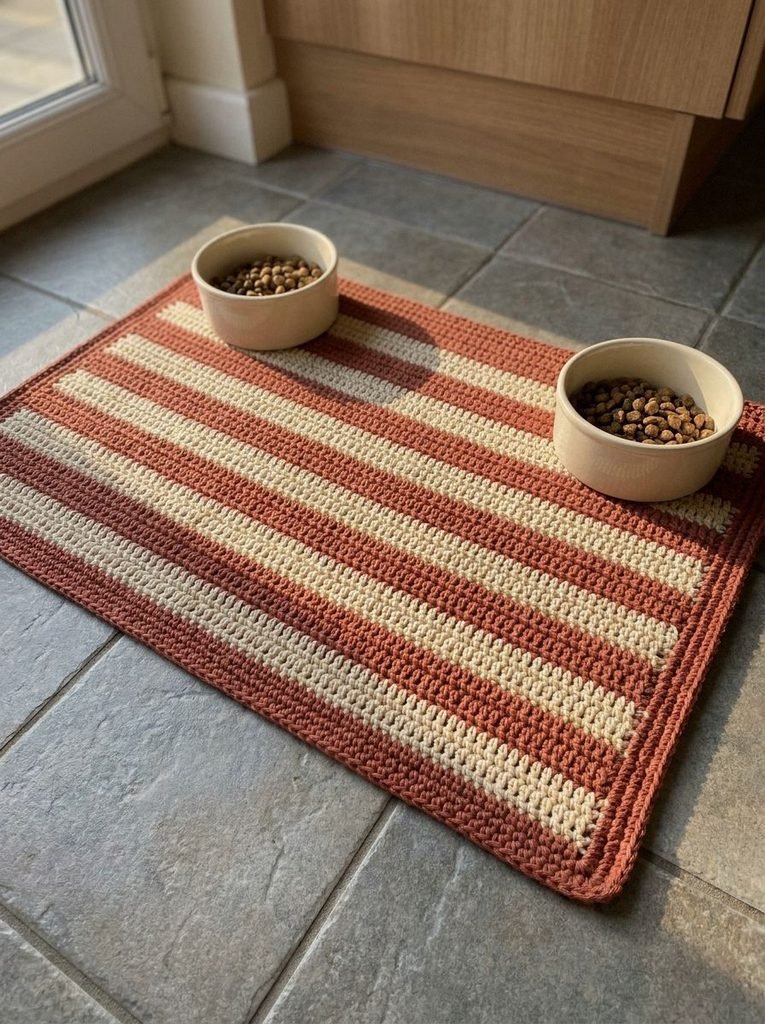
These stripes bring warmth to a gray-tiled kitchen without needing a bright novelty shape. The solid rust border gives the bands somewhere to stop, and the cream rows echo the bowls without trying to match every surface in the room.
This is one of the simpler color options because the yarn changes happen at row ends. The PDF uses a regular stripe repeat and explains how to finish those tails. Part of the mat is outside the supplied frame, so the guide supplies its own complete rectangular edging.
A detail worth checking
Wash a two-color swatch before making the full mat. Check the cream section for color transfer from the rust yarn.
8. Forest-and-Cream Checker Mat
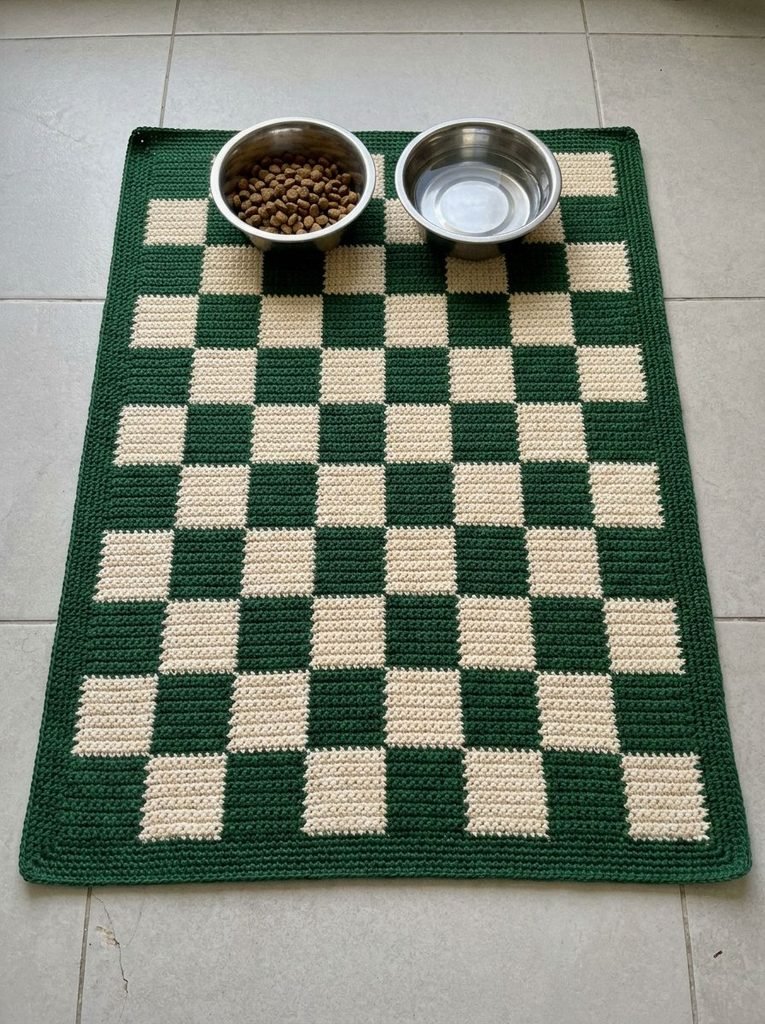
The checker mat is the strongest graphic choice in the collection. Its green frame gives the blocks a clear boundary, while the cream squares stop the darker color from feeling heavy. It looks complete without a paw appliqué or embroidered name.
This is integrated colorwork, so the PDF includes a repeat chart and a written band schedule. The squares need a separate swatch: equal stitch and row counts do not make equal physical lengths. Relaxed carried yarn is just as important as the outer edge.
A detail worth checking
The small lifted corner is a useful reminder to check the mat without bowls weighing it down. Adjust the border if the corner will not settle.
9. Honey Mat With Low Stitch Texture
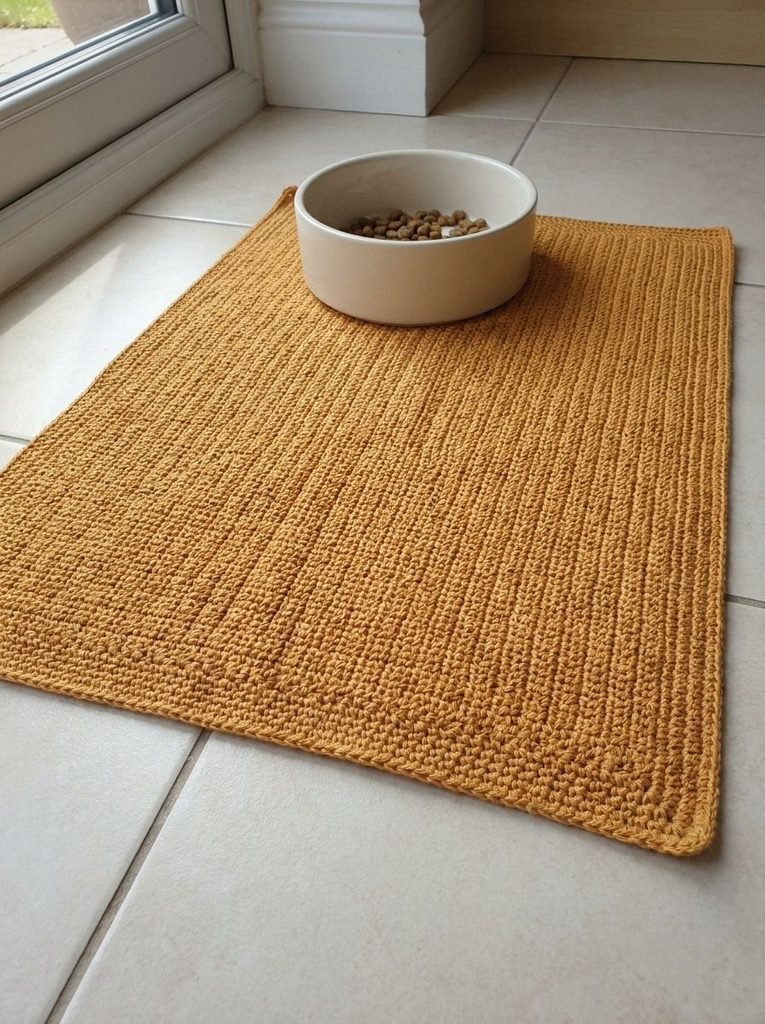
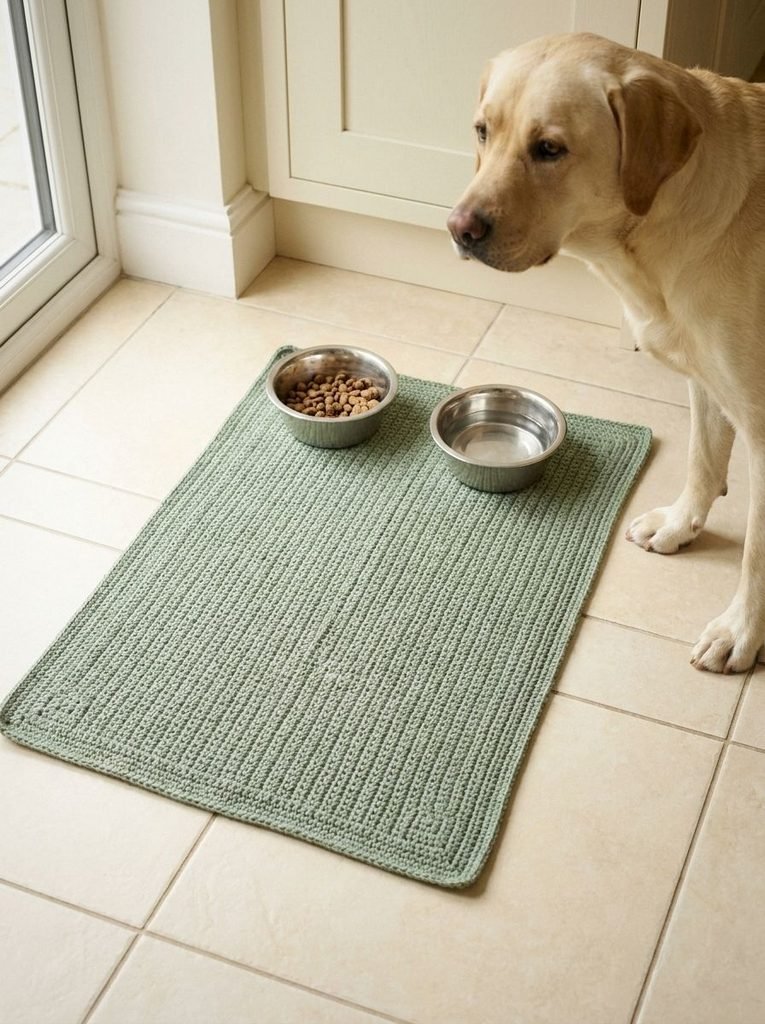
Honey gives a single-bowl spot a little warmth, especially beside pale cabinets and floor tiles. The surface has enough texture to catch the light, but the color does most of the work. Keep that restraint when choosing the stitch.
The guide uses a low alternating-stitch texture as a practical interpretation of the image. The exact stitch cannot be confirmed from the photograph. Swatch it with the bowl you plan to use so you can check whether its base sits evenly.
A detail worth checking
If the bowl rocks, choose a flatter fabric or another setup. A visually interesting stitch is not useful if the dish will not sit steadily.
10. Oat Mat With a Charcoal Frame
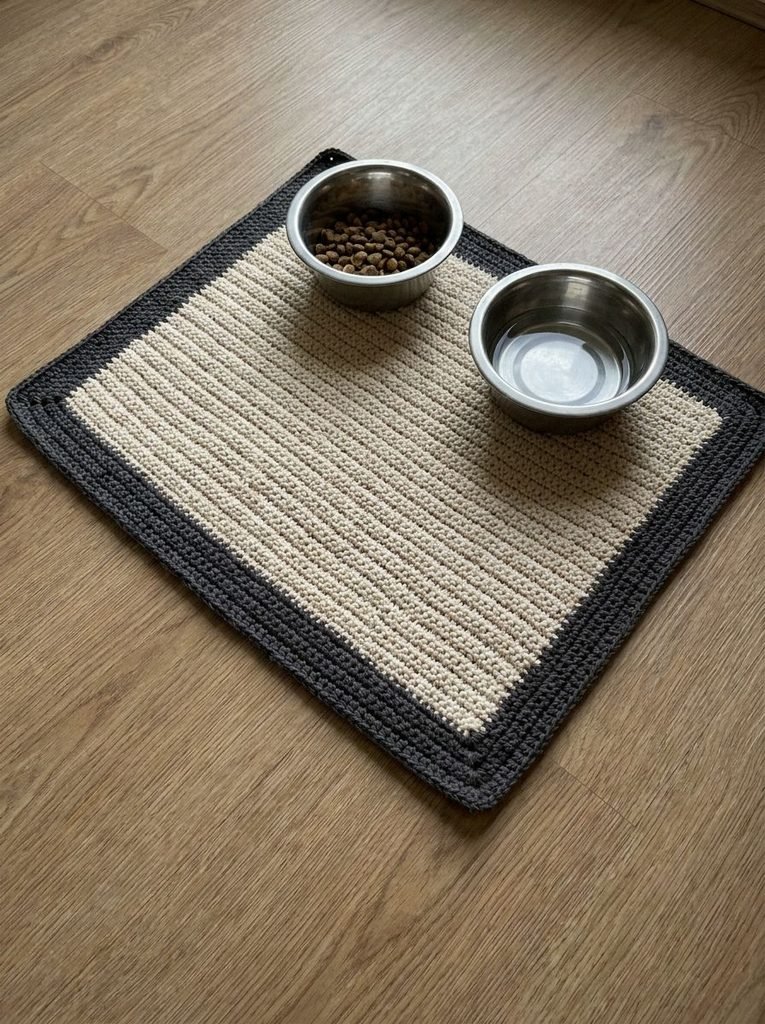
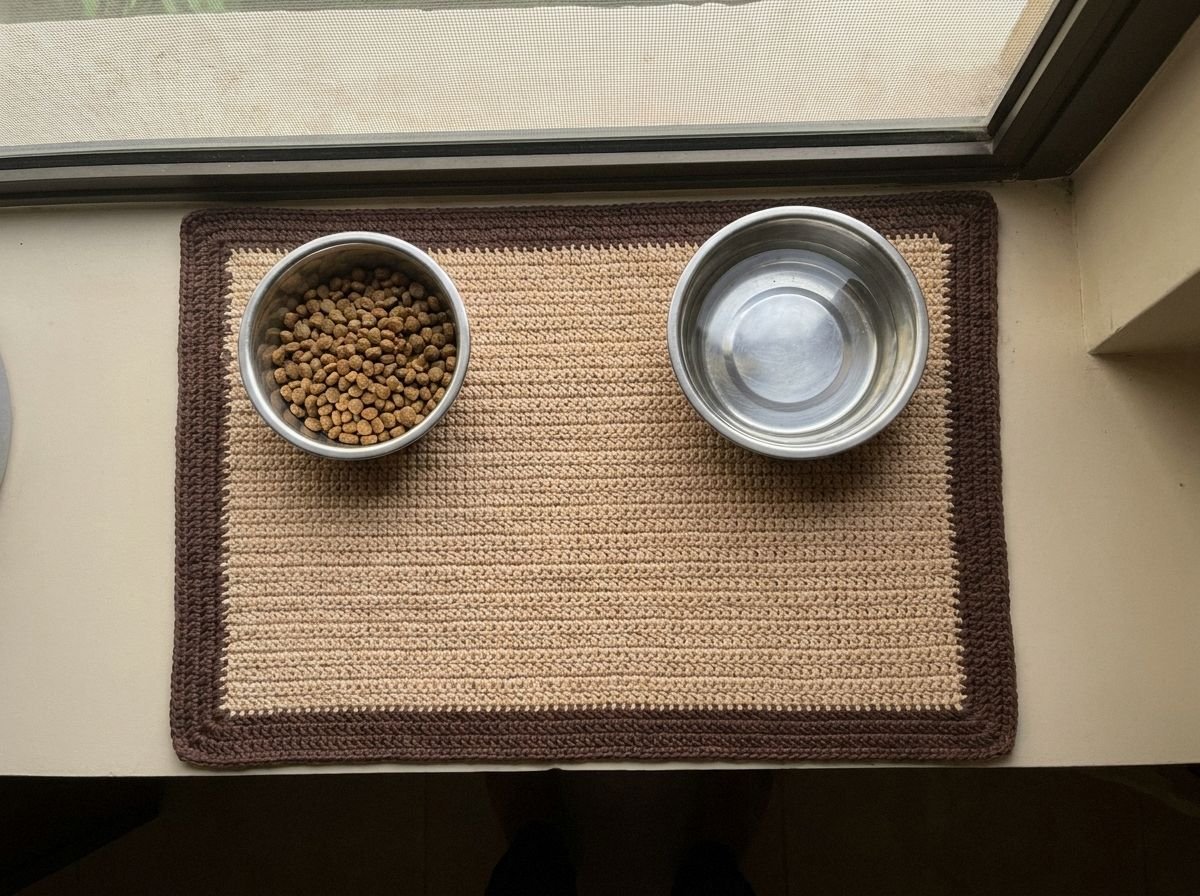
A dark frame is a simple way to make an oat-colored mat stand out from the floor. It also gives the project a clear stopping point: plain fabric in the middle, a few rounds of contrast around it, and no extra decoration to finish.
This is a useful starting design if you want to spend more attention on getting the border right. The guide explains how to space stitches along the row ends and mark the corners. A wider border makes uneven tension easier to spot, so check it after every round.
A detail worth checking
Do not copy the small corner openings as a decorative feature. Check the count and corner placement before deciding whether to close a residual gap.
What makes a flat border work?
A border needs the right number of stitches for the edge it follows. Too many pickups can make it ripple; too few can pull the center into a shallow bowl. Check the work on a level surface after each round. The PDFs include pickup guidance for row ends and separate shaping instructions for the oval and center-out designs.
Take the bowls away for the final check. Pins, heavy dishes and damp blocking can temporarily hide a corner that wants to rise. Correct the fabric if it will not stay relaxed and flat after washing and drying.
Choose yarn you can clean and dry
Smooth cotton is the starting material in these drafts, but the care label decides how the actual yarn can be washed. Test contrasting colors together, measure the dried swatch, and record any shrinkage. A washable mat still needs time to dry fully before it goes back under the bowls.
Lift the mat when it becomes damp or dirty and check the floor beneath it. The photos include wood-look surfaces; crochet fabric does not make those surfaces waterproof. If your mat slides, bunches or attracts chewing, remove it and change the setup.
The CDC recommends following cleaning instructions for pet supplies. Bowl cleaning remains separate: the FDA advises washing pet food bowls with soap and hot water after each use. Keep food in the dishes rather than directly on the yarn.
Questions before you pick a pattern
Which design is the easiest place to start?
The navy runner, row stripes and oat mat with a charcoal frame use straightforward rows and full-row color changes. The wave and checker guides require more colorwork attention. The oval and blue mat require counting increases as the shape grows.
Will cotton stop the mat from slipping?
No slip resistance has been established. Check the finished mat and bowls on your actual floor. If you add a separate underlay, choose one suitable for the flooring and keep it clean and dry; it does not replace testing the setup.
Can I put the mat in the washing machine?
Only if the chosen yarn and all components allow it. Wash and dry a sample first. Record the cycle and drying method that preserve the fabric, colors and border rather than assuming one instruction works for every cotton yarn.
Will the PDFs reproduce every stitch in the images?
They are original interpretations of the visible designs, with construction choices explained in each guide. Photographs cannot establish exact yarn, gauge or hidden joins. The wave chart, corner shaping and texture choices need a physical sample before publication as tested patterns.
Pick the mat that fits your feeding corner
Choose the layout first, then the color or texture. Open that design’s free PDF, measure your bowls and make the swatch. A mat that sits flat, dries properly and suits the actual floor is the one you will want to keep using.