

This crochet Christmas tree house candy box has a little surprise under its branches. Lift the green tree roof and a small hollow box appears beneath it. With the lid back in place, the ribbed base, brown door and tiny windows turn it into a festive cottage.
White scallops give the branches a snowy edge. A gold star, little bows and red beads add colour without hiding the green tiers. It is a lovely project to consider for a Christmas shelf or a small gift filled with individually wrapped treats.
1. Christmas Tree House with a Removable Roof

The tree and the box are made separately, so this is more than a stuffed Christmas ornament. The roof stays hollow and lifts away from the rim. That two-piece construction is the feature to keep in mind when choosing yarn: the roof and base need to work together.
The beige post-stitch walls give the house a basket-like texture. A dark door outlined in white sits at the front, with two small round windows around the sides. Above them, five branch tiers widen toward the bottom of the tree.
What is in the free PDF?
The guide covers the cone, green branches, white edging, ribbed box, star, door and two windows. It includes construction diagrams and fit checkpoints, alongside the finished reference photographs. The written route is in US crochet terms.
The removable lid is the best part
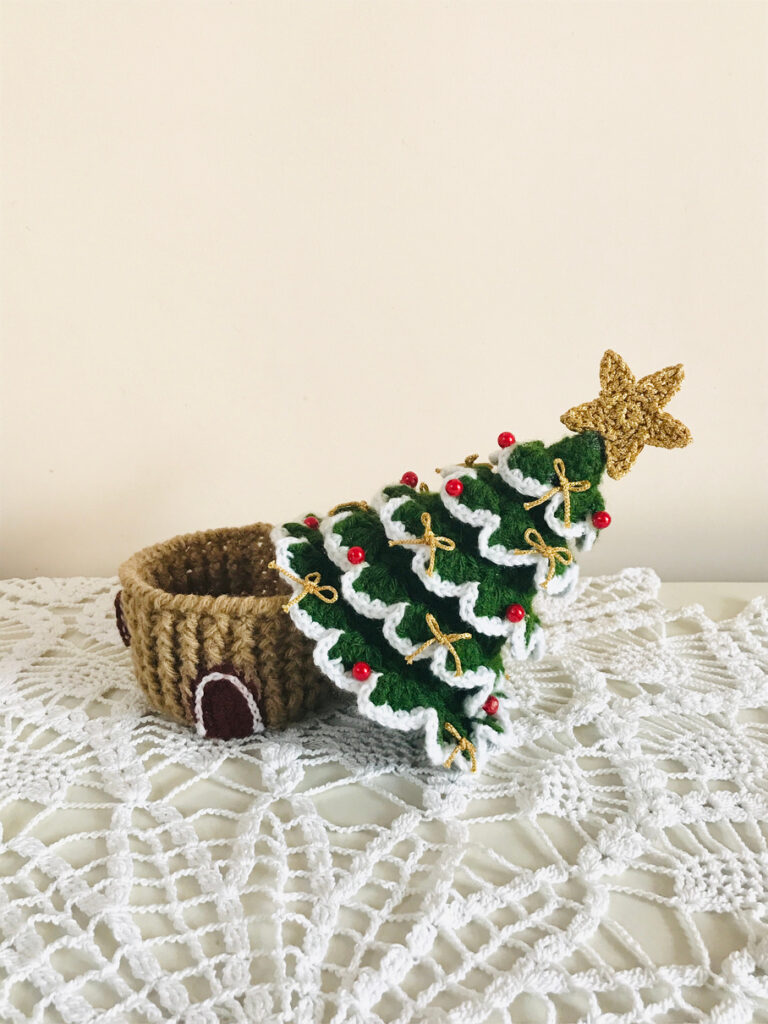
The open view makes the construction much easier to understand. You crochet a tapered green shell for the roof and a separate round container for the house. The outer branch trim hides the join when the lid rests on top.
Check the fit before adding the decorations. A rim that spreads outward or a roof that catches on the box can be harder to adjust once the bows and beads are attached. Set the two plain pieces together, look around the whole rim and lift the lid a few times.
The box has no supplied rigid insert or locking closure. Treat it as a decorative container for light contents, with an adult lifting it by the base. The star is decoration, rather than a handle.
Make the snowy branch edges stand out
The tree begins as a single-crochet cone. Back-loop rounds leave loops available for the branch tiers, which are added afterward. Green double-crochet fans create the scallops; white edging follows them to give that layered snow effect.
Keep the white yarn similar enough in thickness that the border sits comfortably on the green fans. A very bulky edging can crowd the upper tiers, while tight slip stitches may pull the scallops inward. Try one tier and look at it from the side before repeating the trim around the tree.
The little house details finish the scene
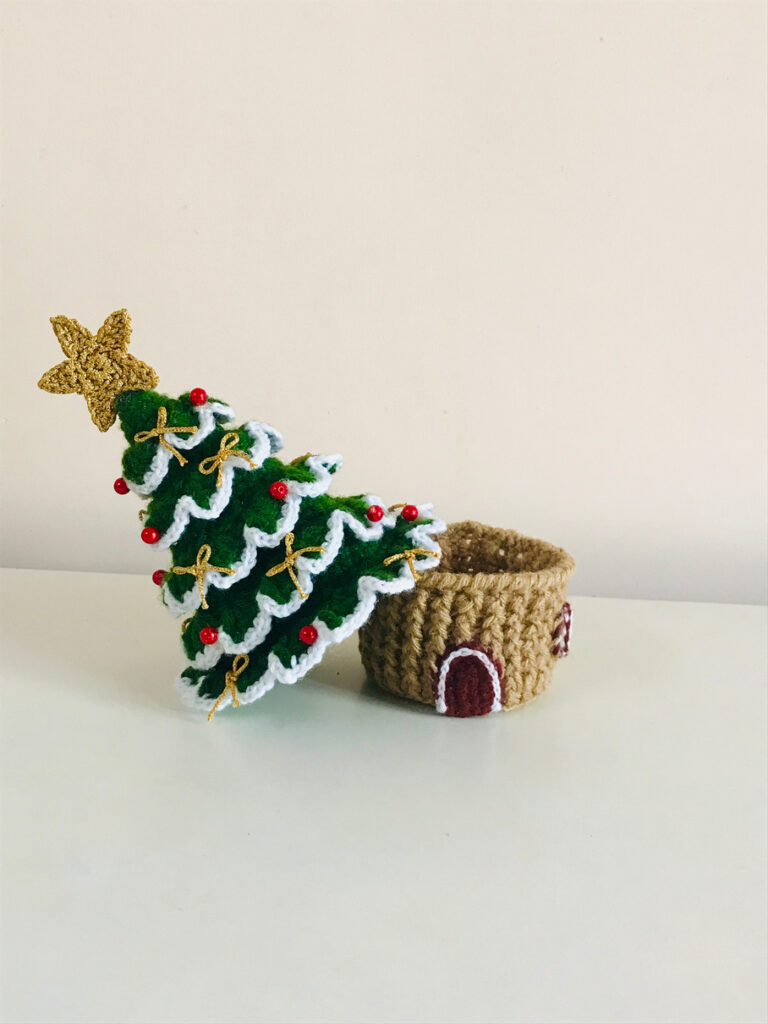
The brown door and small windows are appliques attached to the outside of the box. Their placement matters more than adding extra decoration. Centre the door beneath the front of the roof, then space the windows so they remain visible below the lowest branches.
The photographed tree has a crocheted gold star, red beads and small gold bows. Choose the arrangement before attaching anything permanently. Leave enough space between the trims to see the green fans and white borders.
The supplied design uses glue for decorations. Follow the adhesive label for the actual materials and allow it to cure before handling. This small decorative box has detachable-looking details and is best displayed out of reach of pets and anyone likely to mouth small parts.
Materials to gather
- Green and white yarn for the tree and snow edging.
- Beige yarn for the box, with cream, brown and white for the house details.
- Gold thread for the star and optional bows.
- A 3 mm hook for the main pieces and a 2 mm hook for the door and windows.
- A stitch marker, tapestry needle, scissors, compatible adhesive and your chosen small decorations.
No yarn weight, fibre, ball length or measured consumption is supplied. The reference list mentions balls of yarn but does not define their size, so it is not a reliable one-ball shopping promise. Use compatible yarns, make a sample and record what you actually use.
A project for careful shaping and finishing
This pattern suits an intermediate to advanced crocheter. Along with single crochet and increases, you will use front- and back-post double crochet, loop-specific stitches, scalloped edging and small appliques.
The PDF includes proposed corrections where the written counts or placements need clarification. That route is marked as a prototype-ready draft and has not been physically crocheted or wash-tested. Make one sample and check the roof fit before planning a batch of gifts.
Questions before you start
How big is the finished tree house?
The supplied pattern gives no finished dimensions or numerical gauge. Measure your sample with the lid in place, then record the total height, widest roof diameter, box opening and usable depth. The photographs alone cannot give an accurate size.
Are the open and closed houses different patterns?
No. They are views of the same two-piece design. The tree roof, box and small house details belong to one complete project.
Can I put sweets straight into the crochet?
Use individually wrapped treats, keeping the food inside its own packaging. The crochet and adhesive are decorative materials, with no direct-food-contact specification supplied. Keep the box dry and avoid overfilling it.
Does the guide have step-by-step photographs?
The supplied photographs show finished open and closed views. The guide adds labelled construction diagrams and written directions; it does not present those finished views as process photos.
How should I clean the finished box?
Follow the labels for the actual yarn, adhesive and decorations. Test cleaning on scraps first. No completed wash test supports a machine-wash claim for the whole box.