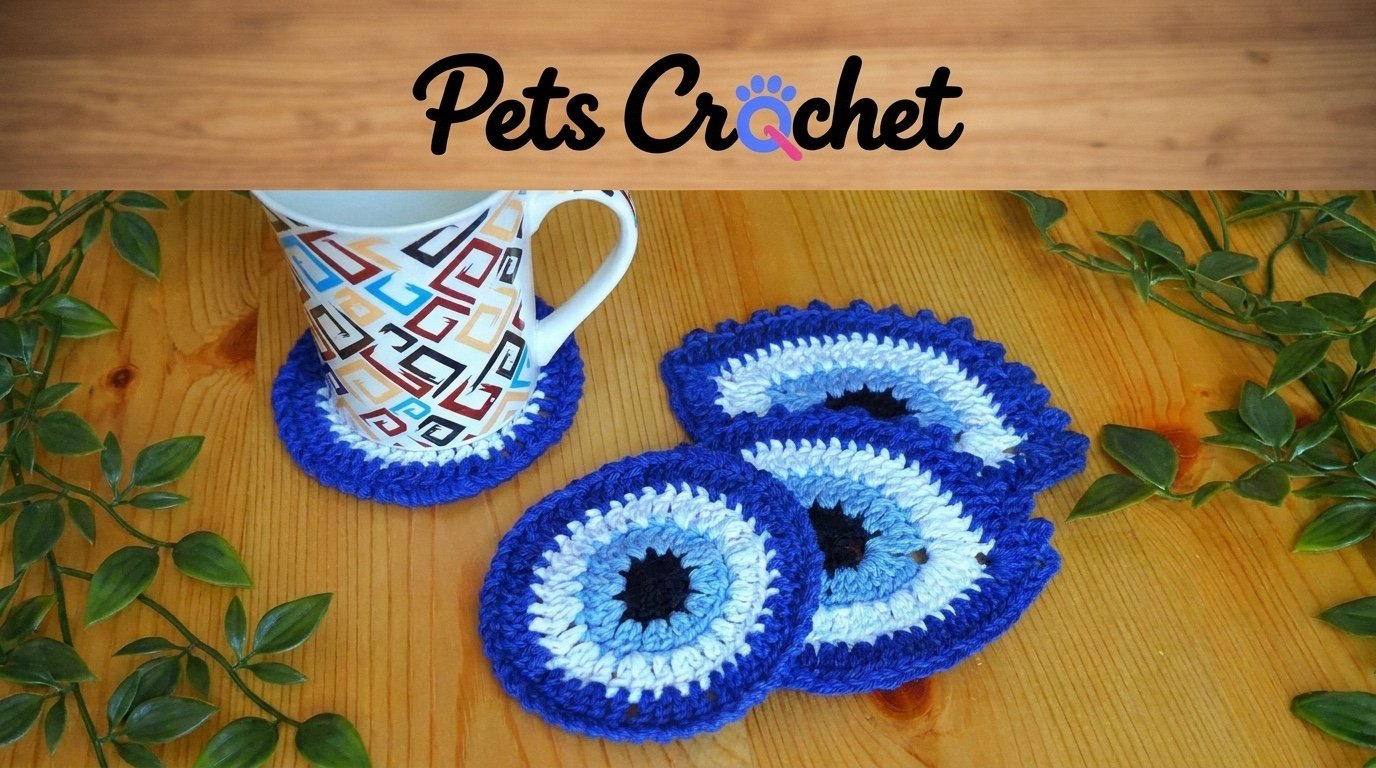
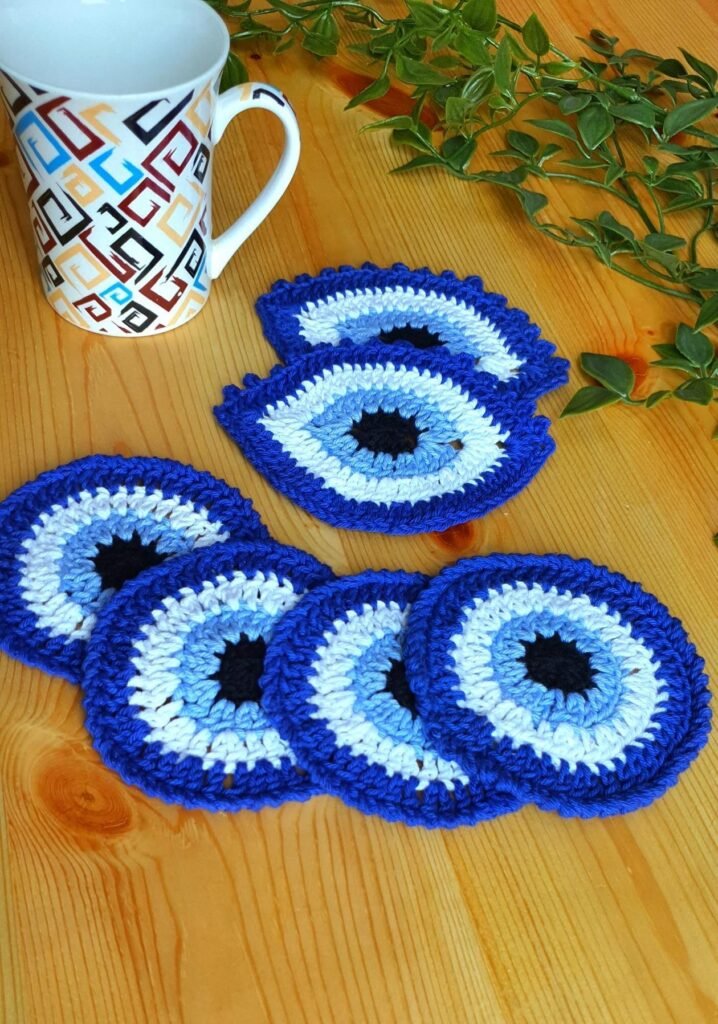
Black centres, pale-blue rings and a crisp white band give these evil eye crochet coasters their character. The dark-blue edge brings the colours together, but the outline changes the feel: one design is round, while the other has two pointed ends and a row of little picots.
Both designs come from Natasha J of Mycreativebutterfly. The source photos show them together on a wooden table, with a patterned mug that picks up the same blue-and-white palette. Choose one shape for a matching set, or make both and let the colours connect them.
Private editorial review: Source-image and adapted-pattern redistribution is not cleared. The two local downloads are untested review drafts; obtain permission before making them public. Download wording below is prepared for a cleared edition.
1. Round evil eye crochet coasters with a textured rim
The round version is the quieter of the two shapes. Each colour forms a clear ring, and reverse single crochet adds a cord-like finish around the outside. It is a useful choice if you want the pattern to sit neatly beneath a mug without points extending to either side.
The source coaster measures about 4 inches across. Its first two rounds provide an early gauge check, so you can compare your cotton and hook before completing all the colour bands. The final size still needs checking after blocking.
A small change in direction makes the border
The last round uses crab stitch, also called reverse single crochet. You work in the opposite direction to ordinary crochet, which twists the edge into that raised rim. Keep the tension relaxed enough that the centre stays flat.
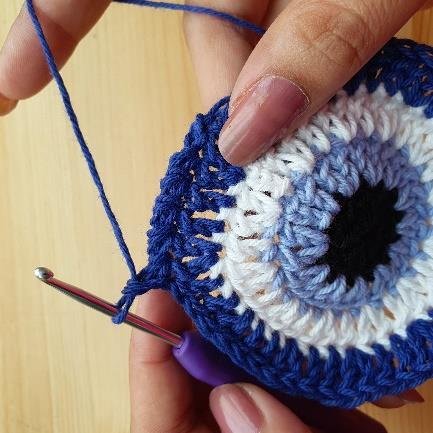
The original tutorial finishes the border with a needle join. This is worth taking slowly: match the neighbouring loop size rather than pulling the last stitch tight. A smooth join keeps the colour band from drawing inward at one spot.
2. Eye-shaped crochet coasters with a picot edge
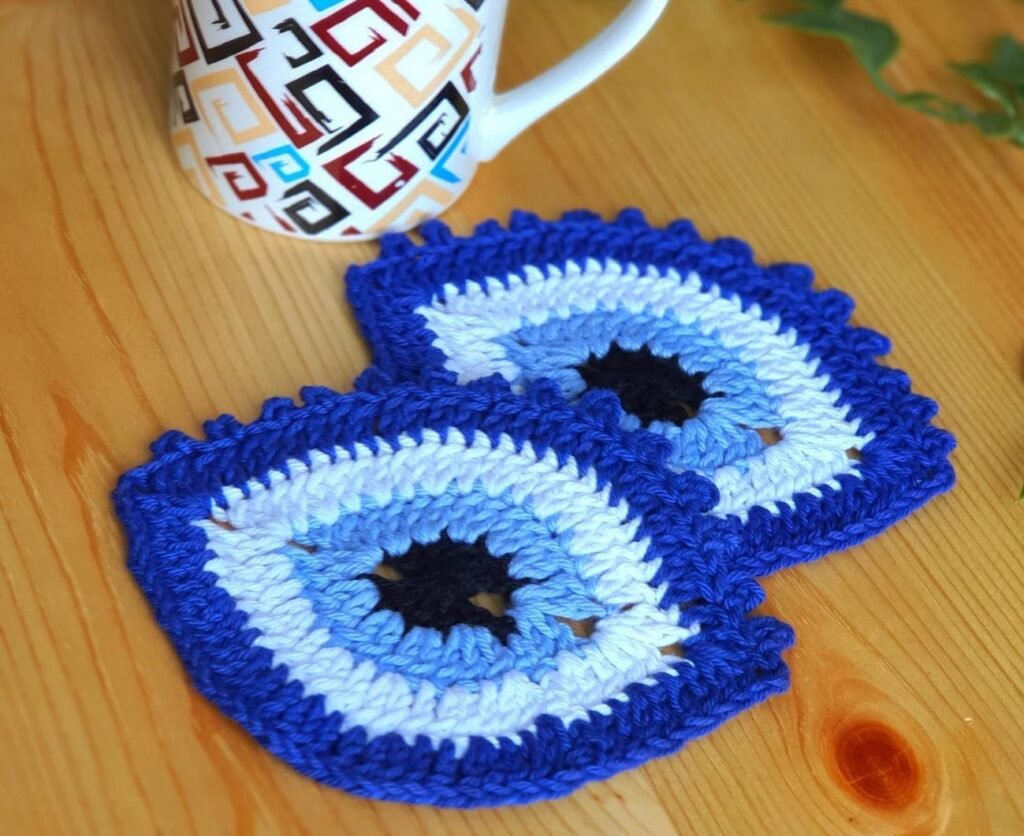
Two pointed ends give the second coaster its eye shape. The centre uses the same four-colour sequence, but the outer dark-blue round adds small picots along one side. That detail makes the outline more decorative while leaving the middle free of sewn-on pieces.
The source lists a finished size of about 4 by 5 inches. Think of those as the short axis and the longer point-to-point measurement, rather than relying on how the coaster happens to be turned in a photo.
Follow the point spaces, not the apparent centre
The eye shape grows around two chain spaces. A colour change moves the start of the next round by one stitch, so the first and last written sections can look uneven even though the points remain in their intended places. Keep track of those spaces and count before moving to the next colour.
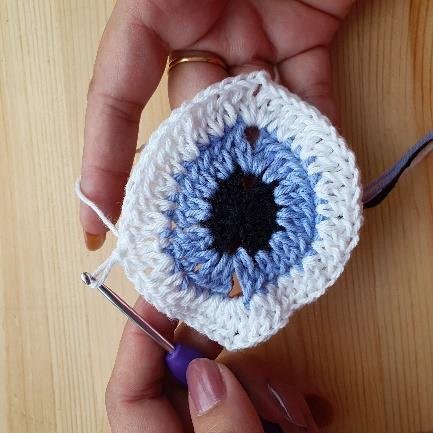
The picots belong to the final round. They add little loops above the fabric rather than using extra stitches from the round below. If the next point arrives too early, check your count before trying to stretch the shape into place.
Choose the shape that suits your table
| Detail | Round design | Eye-shaped design |
|---|---|---|
| Source size | About 4 in / 10 cm across | About 4 × 5 in / 10 × 13 cm |
| Finishing detail | Reverse-single-crochet rim | Picots on the outer round |
| Attention point | Relaxed border and needle join | Point spaces and shifted round starts |
For a coordinated set, use the same yarn range and hook for every coaster, then compare the pieces after blocking. If you change the colours, keeping a strong contrast between the centre, pale ring and outer edge will make the motif easier to read. The supplied photos show one palette; other combinations are choices to sample, not tested versions.
Yarn and finishing notes
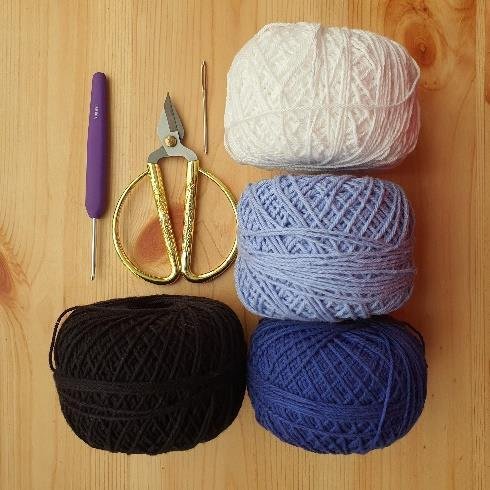
The pattern calls for light worsted weight, 100% cotton and a 3 mm hook, plus a tapestry needle and scissors. It does not give yardage or grams, so there is no verified scrap-yarn or one-skein promise. Keep the yarn labels and record what your first sample uses if you plan to make a set.
Block the set together
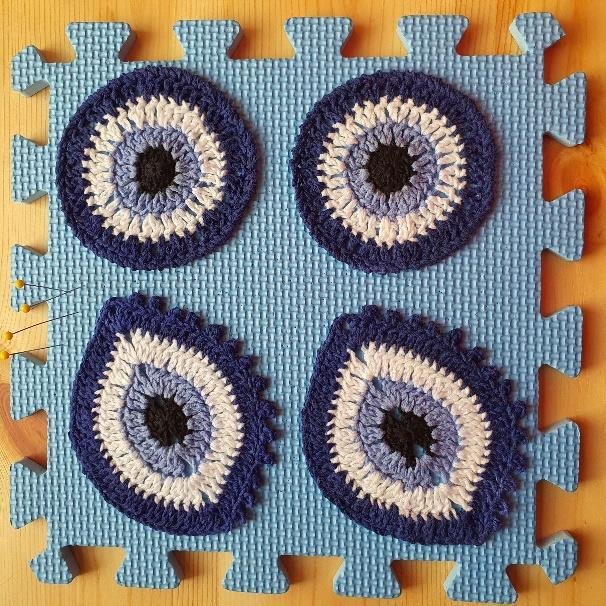
The source tutorial wets the coasters, gently shapes them and leaves them to dry. Follow your own cotton’s care label, squeeze without wringing, and measure each piece while arranging it. Pins can hold the points, but every pin must come out before the coasters reach the table.
Try an empty cup on the dry coaster. Its base should rest fully on the flat fabric without rocking. These are decorative drink coasters; the pattern does not establish protection for hot pans or every table finish.
Where this fits on PetsCrochet
This is a Crochet Home Decor project: something for your own table between pet-focused makes. The connection can stay that simple. Keep yarn, blocking pins and finished pieces away from pets that chew or pull at them; the coasters are not pet toys.
The same home-decor collection can hold these everyday coasters alongside the seasonal spider and pumpkin projects. Keep the article and Pins focused on the actual design, with no need to add pet keywords to the title.
Before you start
Are both patterns beginner-friendly?
The designer rates them advanced beginner. The round version asks you to work joined rounds, change colours and reverse direction for the edging. The eye-shaped version adds point spaces and picots, so careful counting matters more than speed.
Does each design have its own guide?
Yes. Each private adaptation includes its own materials, gauge notes, complete rounds, finishing instructions and relevant source photos. They are credited to the original designer and have not been physically tested by PetsCrochet.
Do I need to make a whole set?
No. Start with one coaster and check the size against the cup you use most. Once the shape and fabric suit you, repeat it or try the second outline in the same colours.
Save the round version if you like a simple rim, or the eye shape if the picot detail catches your attention. Both use the same palette, so choosing one now does not rule out making the other later.